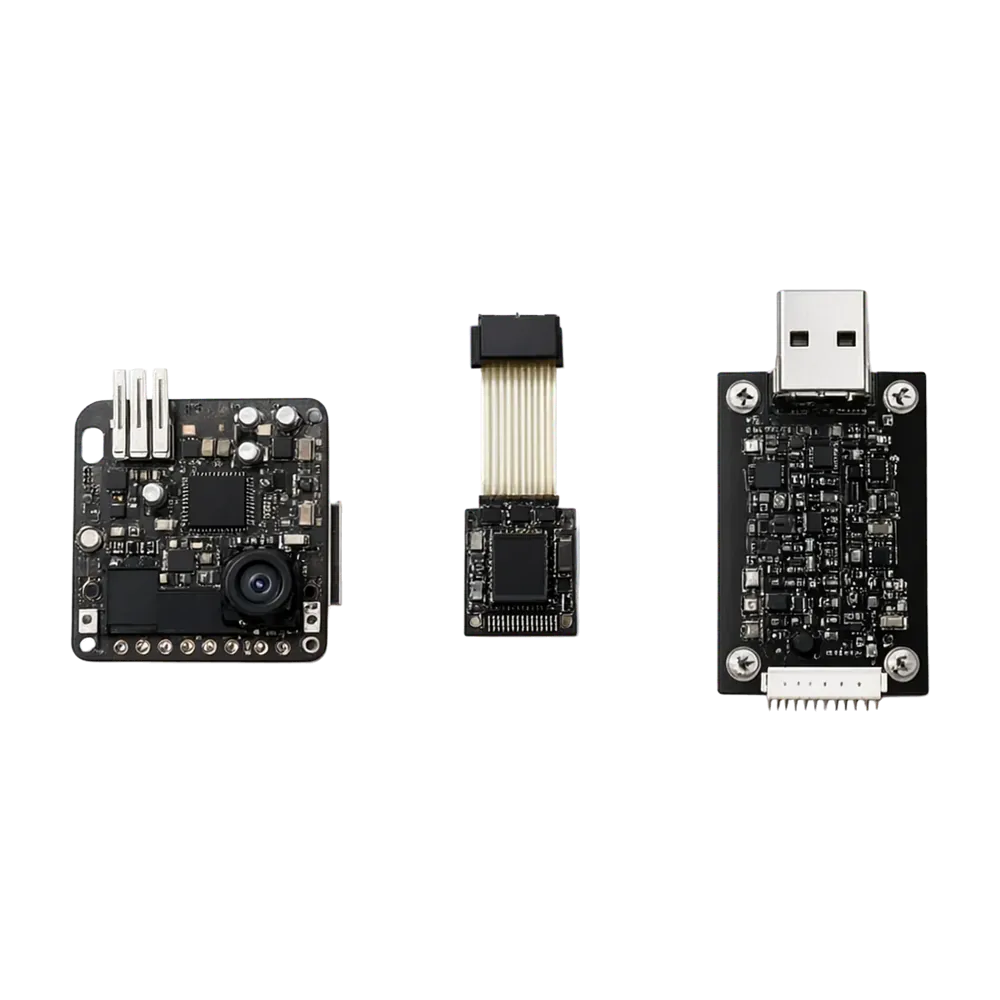
ESP32-CAM + OV2640 + USB Programmer
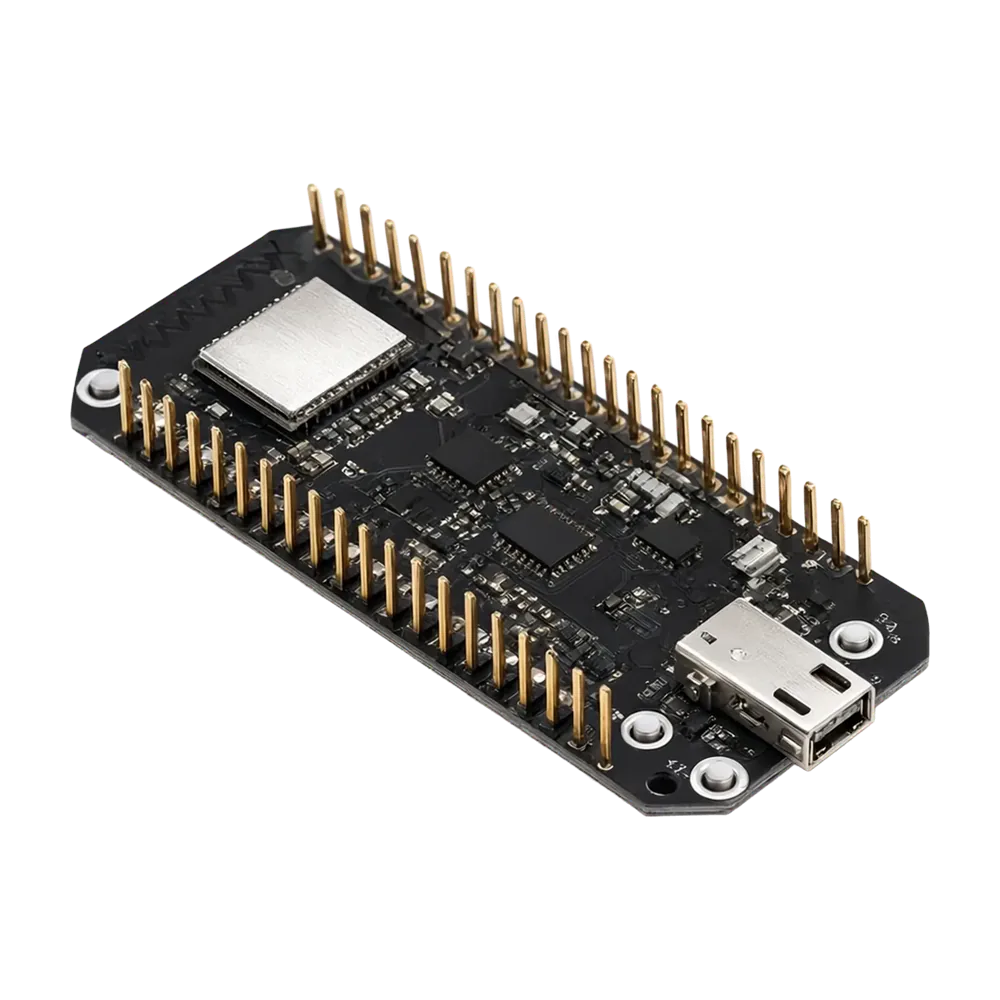
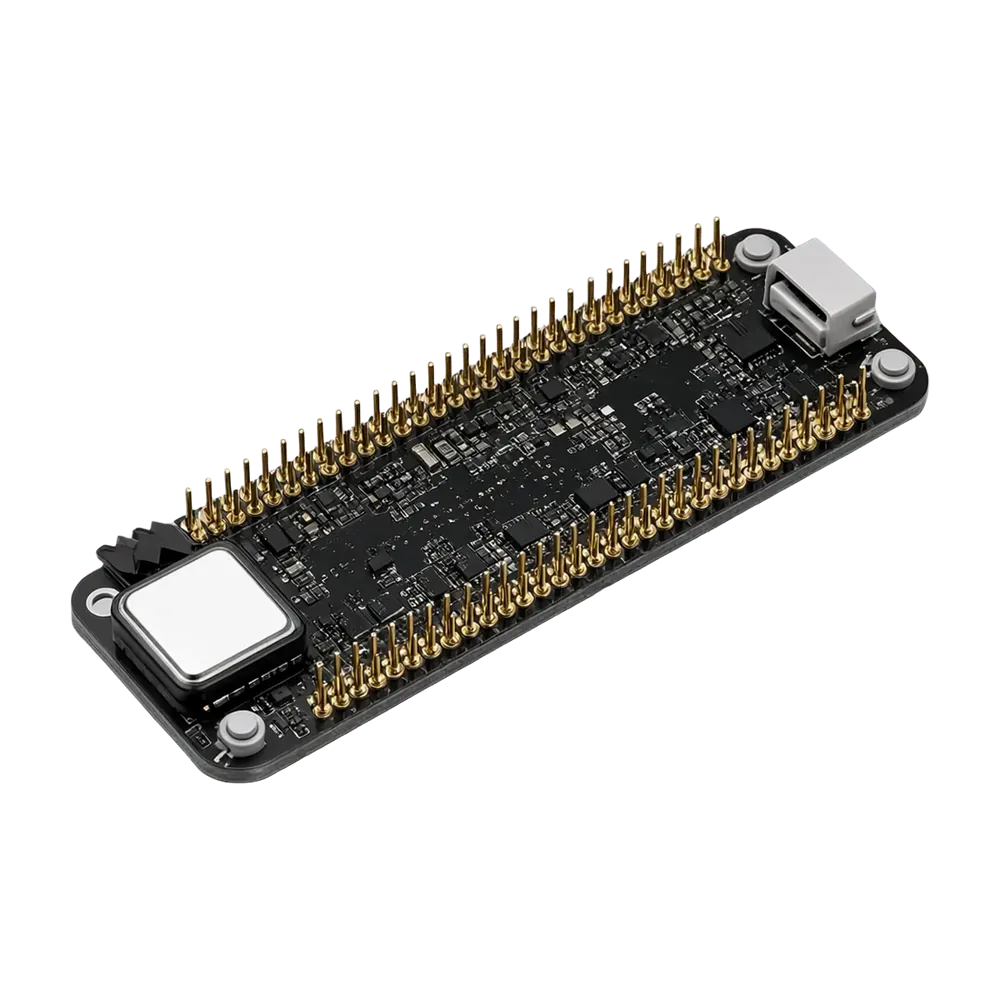
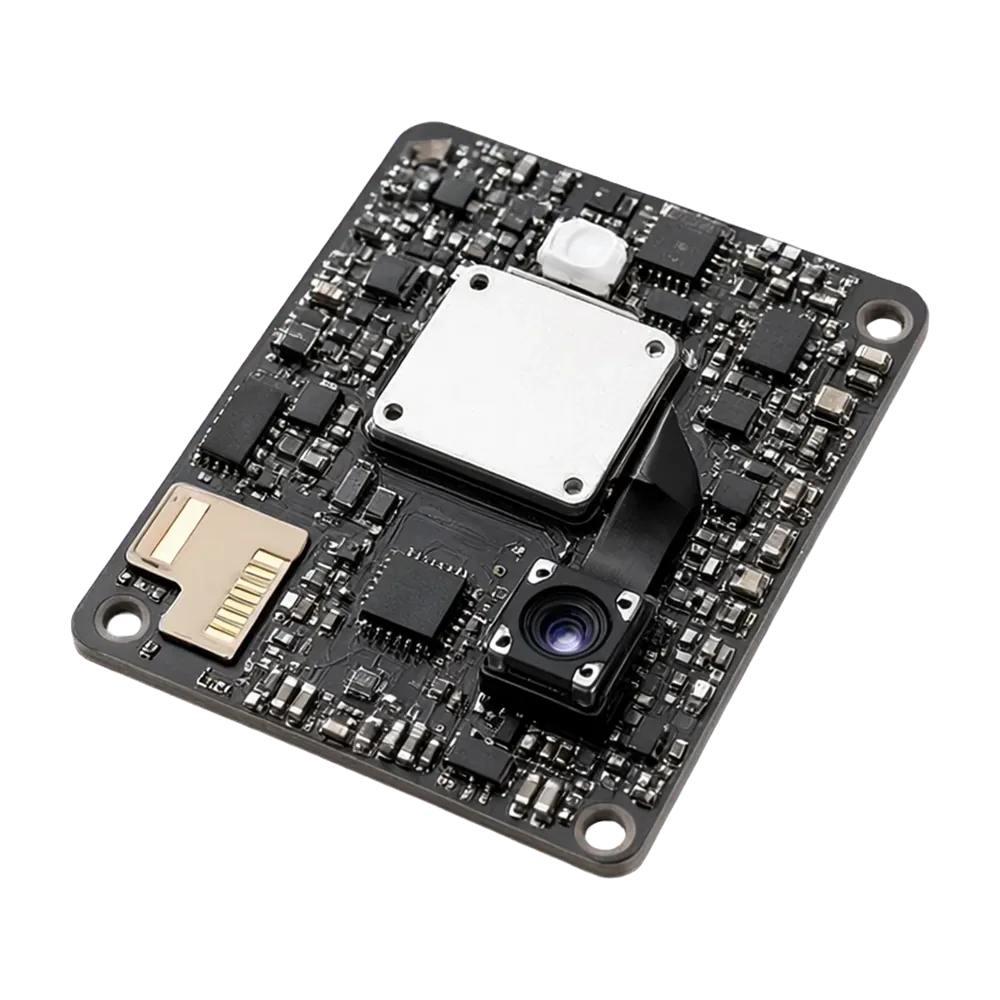
Tiny ESP32 board with a 2 MP OV2640 camera, microSD slot and WiFi/Bluetooth, plus the ESP32-CAM-MB programmer base for one-click USB uploads. Build a WiFi camera, doorbell or face-detection p
- SoC
- ESP32 (dual-core, up to 240 MHz)
- PSRAM / Flash
- 4 MB / 4 MB
- Camera
- OV2640, 2 MP
- Wireless
- WiFi 802.11 b/g/n, Bluetooth 4.2 + BLE
- Storage
- microSD slot (up to 4 GB)
- Programmer
- ESP32-CAM-MB (CH340, Micro-USB)
Specifications
- Manufacturer Part Number
- ESP32-CAM
- SoC
- ESP32 (dual-core, up to 240 MHz)
- PSRAM / Flash
- 4 MB / 4 MB
- Camera
- OV2640, 2 MP
- Wireless
- WiFi 802.11 b/g/n, Bluetooth 4.2 + BLE
- Storage
- microSD slot (up to 4 GB)
- Programmer
- ESP32-CAM-MB (CH340, Micro-USB)
- Supply Voltage
- 5 V
- Board Size
- 27 × 40.5 mm
- Flash LED
- On board (GPIO 4)
Downloads
Description
A complete WiFi camera on a 27 × 40 mm board. Stream video to a browser, take photos to the microSD card, or run face detection – all from the Arduino IDE. The ESP32-CAM-MB base adds a Micro-USB port and auto-reset, so you don't need a separate USB-TTL adapter.
Features
- ESP32 dual-core, 240 MHz, with 4 MB PSRAM and 4 MB flash
- OV2640 2 MP camera on a ribbon cable
- WiFi 802.11 b/g/n and Bluetooth 4.2 / BLE
- microSD card slot (up to 4 GB, FAT32) and on-board flash LED
- ESP32-CAM-MB programmer: CH340 USB-serial, Micro-USB, auto boot/reset
Getting started
Seat the camera board on the MB base, select AI Thinker ESP32-CAM in the Arduino IDE and open Examples → ESP32 → Camera → CameraWebServer. Enter your WiFi name and password, upload, and open the IP address shown in the Serial Monitor. Power from a good 5 V 2 A supply – weak USB ports cause brown-out resets.
Package includes
1 × ESP32-CAM board, 1 × OV2640 camera, 1 × ESP32-CAM-MB programmer
Similar Products