
boAt Stone 1500 Battery Bypass: How to Open It and Run It on 12 V DC Power
Battery dead or swollen? Take it out and run your boAt Stone 1500 straight from a 12 V adapter. Step-by-step: opening the speaker, setting an XL4015 buck converter to 8.0 V, wiring diagrams, testing and fixes.
 By circuitdukaan14 min read
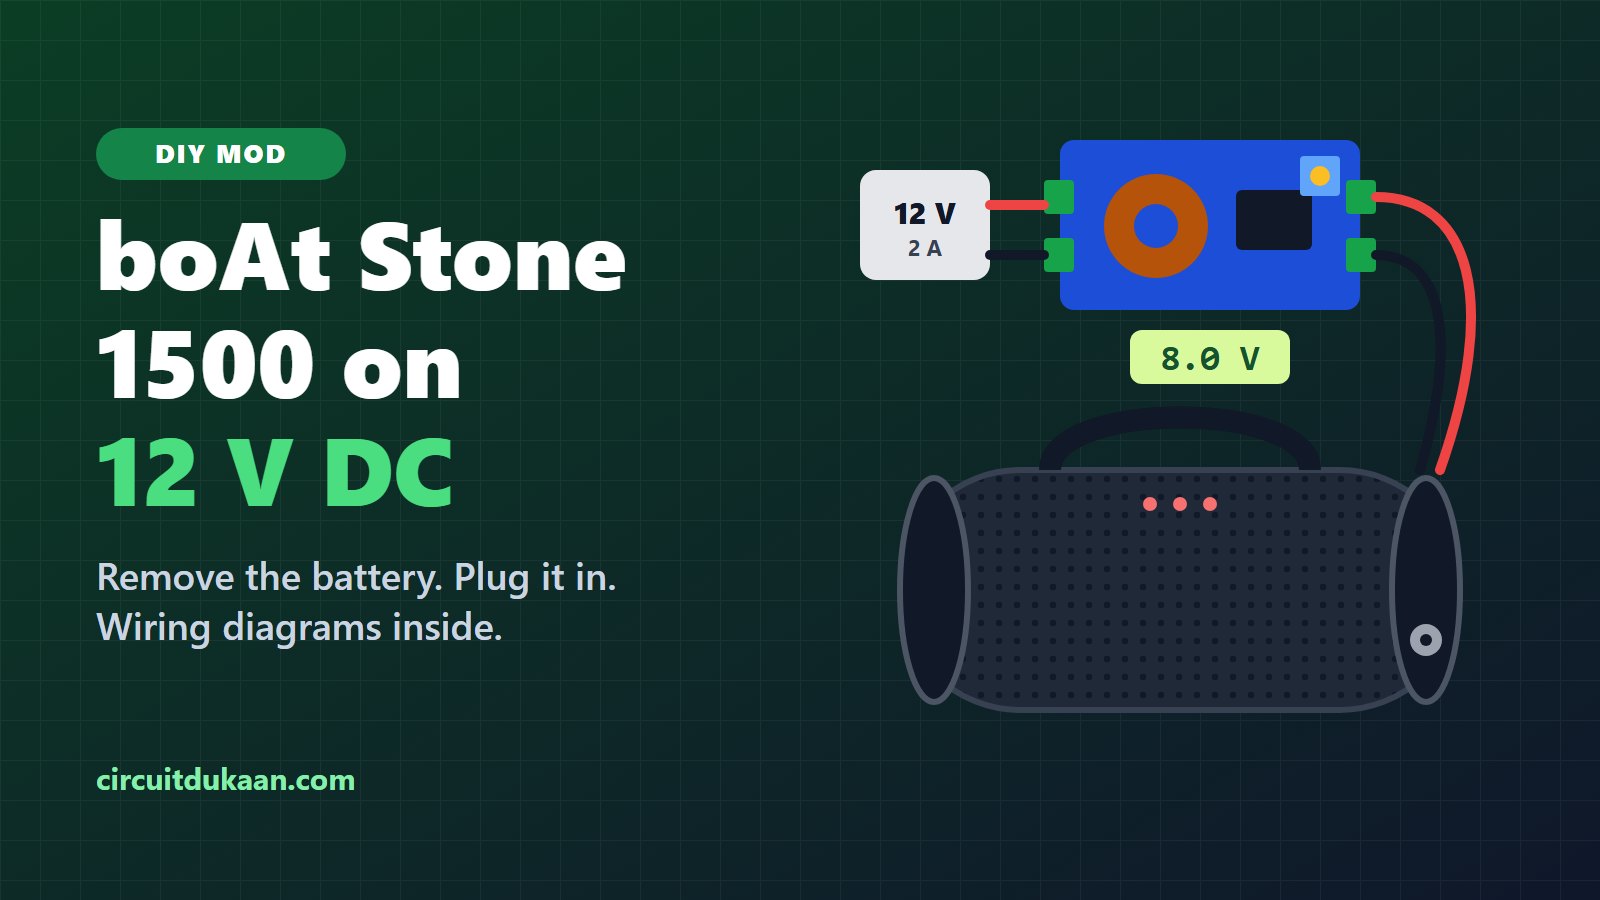
The boAt Stone 1500 is a loud, well-built Bluetooth speaker, but like every portable speaker it lives and dies by its lithium battery. After a couple of years the battery holds a charge for an hour, swells, or stops charging at all. If your speaker now spends its life on a desk, a shop counter or a workbench, there is a cheaper and more permanent fix than a new battery: remove the battery and run the speaker from a 12 V DC adapter.
This guide shows the full boAt Stone 1500 battery bypass: how to open the speaker, why you can't just plug 12 V into it, how to set an XL4015 buck converter to 8.0 V, the complete wiring, and how to test it before you close it up. Wiring diagrams are included for every step.
Quick answer: the Stone 1500 runs on a 7.2 V two-cell lithium battery. Take the battery out, set a buck converter to 8.0 V from a 12 V 2 A adapter, and connect the converter's output to the board's battery socket (red to +, black to −). Never put 12 V into the USB-C port – boAt itself warns against 9 V and 12 V chargers.
Is this mod right for you?
Do it if the speaker stays in one place and the battery is dead, weak or swollen. After the mod the speaker turns on whenever the adapter is plugged in and never needs charging again – you'll never see a low-battery beep.
Skip it if you take the speaker outdoors. Without a battery it only works near a wall socket, and the new DC jack means the shell is no longer IPX6 water-resistant. Opening the speaker also ends any warranty you still have.
boAt Stone 1500 specs that matter for this mod
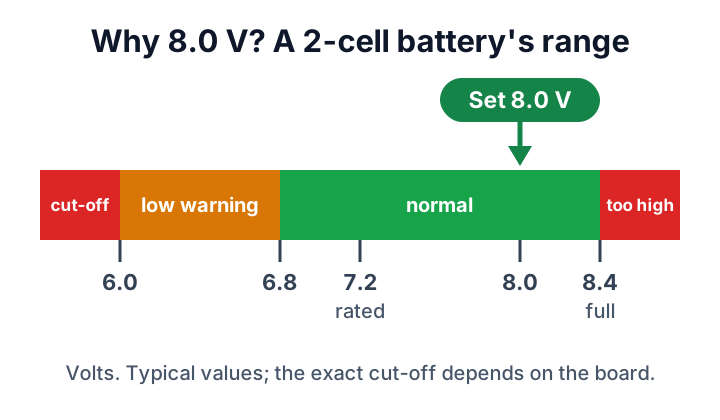
These figures come from the boAt Stone 1500 user manual. The one that decides everything is the battery: 7.2 V means two lithium-ion cells in series (a "2S" pack), which is about 8.4 V when fully charged and about 6 V when empty.
| Specification | boAt Stone 1500 |
|---|---|
| Battery | 7.2 V, 4000 mAh (2 Li-ion cells in series) |
| Charging input | USB Type-C, 5 V 2 A |
| Charging time | About 4.5 hours |
| Playtime | Up to 8 hours (depends on volume) |
| Output | 40 W RMS (the manual's figure) |
| Water resistance | IPX6 (lost after this mod) |
| Size | 134 mm diameter × 320 mm long |
Why you can't plug a 12 V adapter straight in
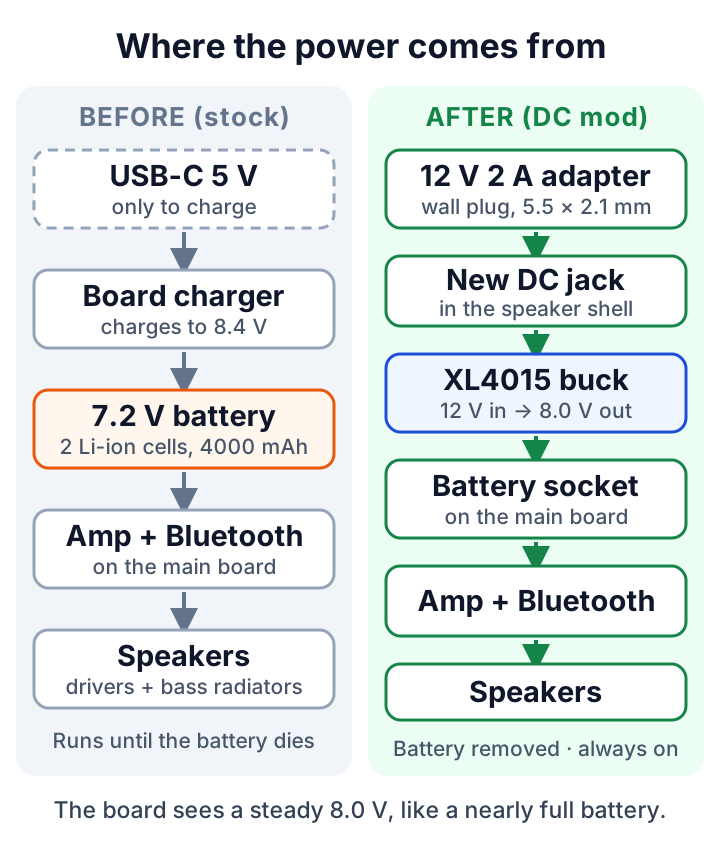
The USB-C port only accepts 5 V. A small boost charger on the main board raises that 5 V to charge the 7.2 V battery, and the amplifier runs from the battery. Putting 12 V into the USB-C port – or straight onto the battery wires – pushes far more voltage into the board than it was built for and can burn the charger chip or the amplifier.
The fix is a buck converter: a small module that turns 12 V into a lower, steady voltage. Set it to 8.0 V, connect it where the battery used to be, and the board sees what looks like a nearly full battery that never runs down.
Why 8.0 V and not 7.2 V or 8.4 V?
7.2 V is only the battery's rated (average) voltage. A two-cell pack really runs from about 8.4 V when full down to about 6 V when empty, and the board starts warning about a low battery somewhere in the mid-6 V range. 8.0 V sits in the middle of the safe band: high enough that the board never thinks the battery is low (even when the voltage dips on loud bass hits), and safely below the 8.4 V full-charge limit.
Parts and tools you need
| Part | What to buy | Why |
|---|---|---|
| Power adapter | 12 V 2 A (24 W), 5.5 × 2.1 mm plug, centre positive | Main power source. 12 V 3 A gives more headroom at full volume. |
| Buck converter | XL4015 5 A adjustable (or LM2596 3 A for normal volumes) | Turns 12 V into a steady 8.0 V |
| DC jack | DC-022 panel-mount, 5.5 × 2.1 mm | Socket in the shell for the adapter |
| Wire | 22 AWG two-core silicone wire, red/black | Flexible, heat-resistant, carries 2–3 A easily |
| Battery plug | 2-pin JST-PH 2.0 mm female housing with wires | Plugs into the board's old battery socket – match it to your board |
| Multimeter | Any digital meter, e.g. DT830D or DT9205A | Setting 8.0 V and checking polarity – not optional |
| Soldering | Adjustable soldering iron and 63/37 solder wire | Jack and converter connections |
| Opening tools | Plastic pry tools / spudgers, precision screwdriver set | Opening the shell without scratching it |
| Drilling | Drill and a step drill bit | A clean round hole for the DC jack |
| Fixing | Hot glue gun, instant glue, heat-shrink or Kapton tape | Mounting the converter, insulating joints, closing the shell |
Safety first
- Treat the battery with respect. Lithium cells can catch fire if punctured, bent or shorted. Never cut or pierce the pack, and keep metal tools away from its terminals.
- A swollen battery is a warning sign. Don't press on it or lever against it. Lift it out gently with plastic tools.
- Tape the old battery's plug and take the pack to an e-waste collection point. Don't put it in household rubbish.
- Use a good adapter. A BIS-certified 12 V adapter with proper insulation is cheaper than a fire. Keep it dry.
- Work unplugged. Only connect the adapter when a step tells you to.
Step 1: Open the boAt Stone 1500
boAt doesn't publish a service manual for the Stone 1500, and small details can change between production batches, so take it slowly and never force a part that won't move.
- Prepare. Switch the speaker off, unplug the USB-C cable, remove the strap and lay the speaker on a towel so the fabric and rubber don't get scratched.
- Find the screws. On a cylinder speaker like this one, the shell is held together at the ends. Look under the rubber rings and trims around both end caps, under any rubber feet, and around the control strip. Screws are often hidden under glued rubber – warm it for a minute with a hair dryer, then lift an edge with a plastic pry tool.
- Remove the screws with the matching Phillips bit from your precision set (usually PH0 or PH1). Keep each group in order in a tray or on a strip of tape, and take a photo before you remove anything.
- Ease the end cap or inner frame out. The large rubber discs at the ends are passive bass radiators. They are delicate – never pry against them, press them or poke them with a tool.
- Photograph every connector before you unplug anything: the driver wires, the button board and the battery lead. These photos are your reassembly guide.
Step 2: Unplug and remove the battery
- Find where the battery lead plugs into the main board. Unplug it by gripping the plastic housing, never the wires. A thin plastic spudger helps rock it out of the socket.
- Note which side of the socket the red (+) and black (−) wires go to. Take a close-up photo – you'll need this in Step 5.
- Read the label on the battery. It should say 7.2 V or 7.4 V (two cells). If yours says 3.7 V, it has a single cell – then set the converter to 4.0 V instead of 8.0 V everywhere in this guide.
- The pack is usually held with double-sided tape or a bracket. Lift it out slowly with plastic tools. Tape over its plug and set it aside for recycling.
If the battery wires are soldered straight to the board instead of plugged in, desolder them one at a time and mark the pads B+ and B−. In Step 5 you'll solder the converter's output to those same pads.
Step 3: Set the buck converter to 8.0 V (before it touches the speaker)
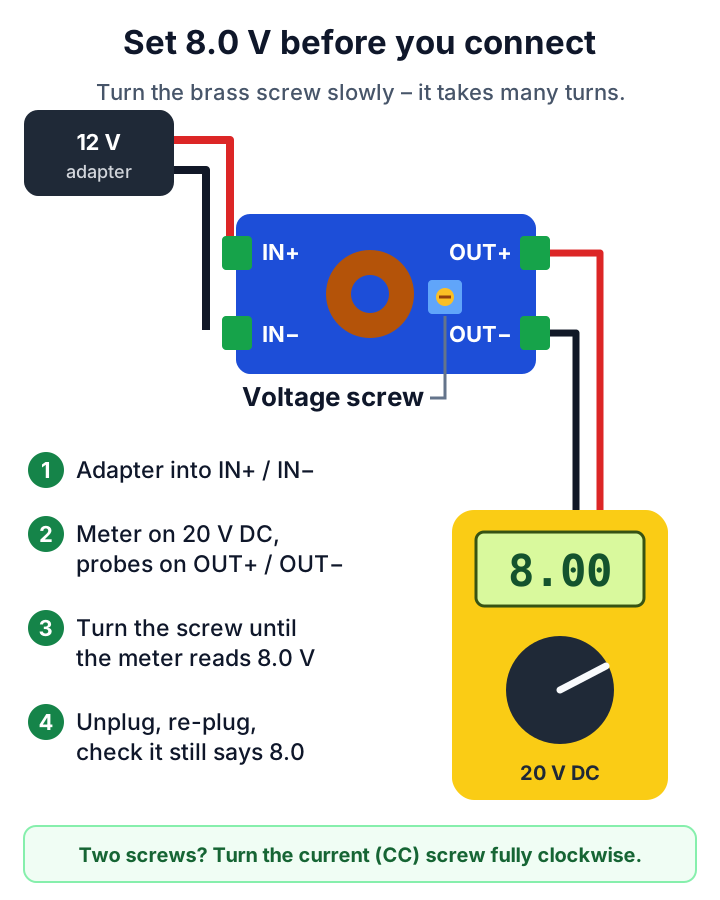
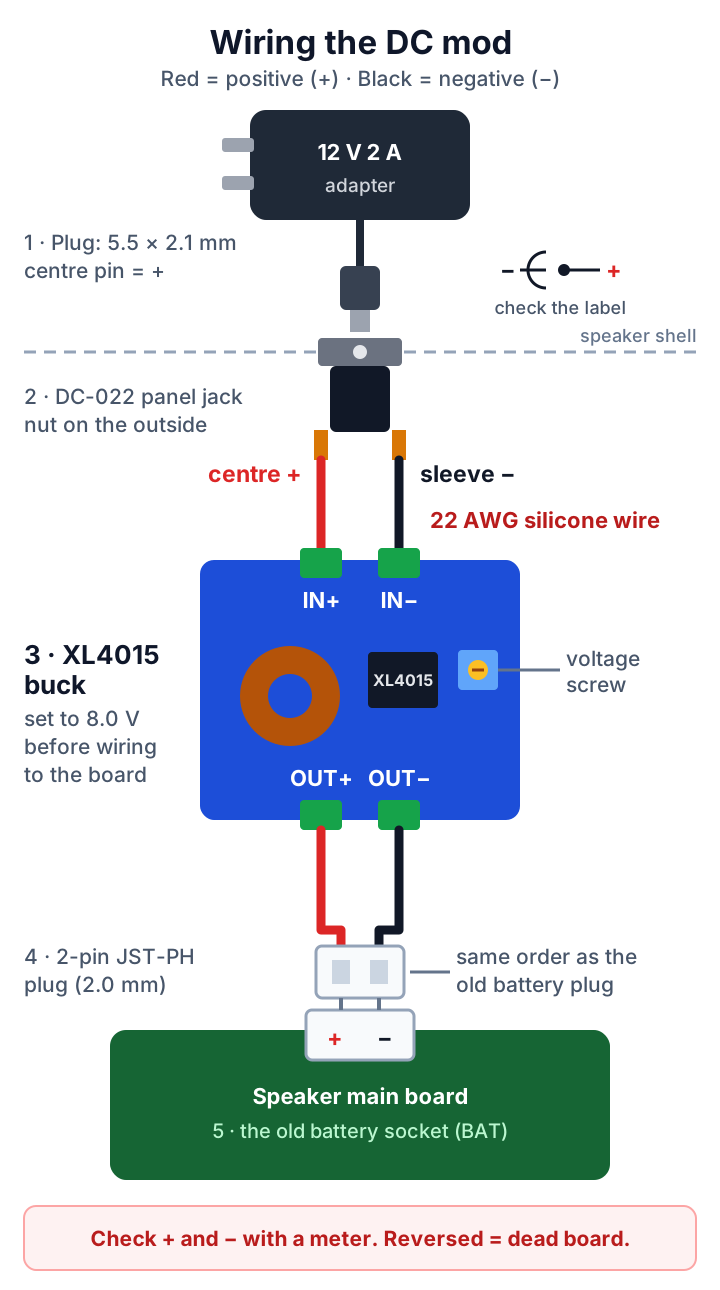
Always set the voltage first, with nothing connected to the output. Many XL4015 and LM2596 modules come set to a random voltage – sometimes higher than the input – and one wrong connection can kill the speaker.
- Connect the 12 V adapter to the converter's IN+ and IN− (check the adapter's polarity with the meter first).
- Set your multimeter to 20 V DC and put the probes on OUT+ (red) and OUT− (black).
- Turn the small brass screw on the blue trimmer slowly. It is a multi-turn trimmer, so it may take 10–20 turns before the voltage moves. On most boards clockwise raises the voltage – if the reading goes the wrong way, turn the other way.
- Stop at 8.0 V (anything from 7.9 to 8.1 V is fine).
- Unplug the adapter, plug it back in and check the meter still shows 8.0 V.
If your XL4015 has two trimmers (voltage CV and current CC), turn the current trimmer fully clockwise so it doesn't limit the speaker on loud bass.
Step 4: Fit the DC jack in the shell
- Choose the spot. Pick a flat area close to the main board, away from the drivers, the passive radiators and the grille. Check inside that the jack's body (about 15 mm deep) won't hit anything.
- Drill. Start with the smallest step of the step drill bit and step up until the jack's thread just fits – usually about 8 mm for a DC-022 jack, but measure yours. Drill slowly so the plastic doesn't melt or crack, and remove the burr afterwards.
- Mount. Push the jack through from inside, fit the washer and nut outside and tighten it. A drop of instant glue on the thread stops the nut working loose.
A DC-022 jack often has three tabs: centre pin, sleeve and a switch contact. Use your meter's continuity mode to find which tab connects to the centre pin and which to the outer sleeve – those are the two you use.
Step 5: Wire everything up
Use 22 AWG silicone wire, keep the wires short and tidy, and slide heat-shrink over every joint before soldering.
- DC jack centre pin (+) → red wire → converter IN+.
- DC jack sleeve (−) → black wire → converter IN−.
- Converter OUT+ → red wire of the JST-PH lead.
- Converter OUT− → black wire of the JST-PH lead.
- Compare the JST-PH plug with your photo of the old battery plug. The red wire must land on the same side of the socket as the old red wire. Pre-made JST leads are not always wired in the same order – if yours is reversed, swap the wires at the converter, never force the plug in the other way.
Check that your board's socket really is 2.0 mm pitch (JST-PH) by holding the old plug next to the new one. Some boards use a 2.5 mm (JST-XH) socket – buy the matching housing, or solder the wires to the board's B+ and B− pads instead.
Step 6: Test before you close it
- With the JST plug still not connected to the board, plug in the adapter and measure across the plug: 8.0 V, with the red side matching the board's + side.
- Unplug the adapter, connect the JST plug to the board, then plug the adapter in again.
- Turn the speaker on, pair your phone and play music at half volume for a few minutes.
- Turn it up to full volume with bass-heavy music for 10 minutes. The sound should stay clean, without cutting out or resetting.
- Feel the converter: warm is normal. If it is too hot to touch, give it more air space (and check you're using the 5 A XL4015, not a smaller module).
Don't plug in USB-C while the speaker runs on the adapter. The board's charger would try to "charge" the converter. There's no battery left to charge, so the USB-C port has no use now.
Step 7: Mount the converter and close up
- Wrap the converter's underside in Kapton tape or put it in heat-shrink so no pin can touch the board or a screw.
- Fix it with hot glue to a flat inside wall, away from the drivers and the moving passive radiators, with some air around it.
- Hot-glue the loose wires down so they can't rattle against the shell at high volume.
- Reassemble in reverse order using your photos. A few small dots of instant glue hold the rubber trims – don't flood them, or you won't be able to open the speaker again.
Troubleshooting
| Problem | Likely cause | Fix |
|---|---|---|
| Speaker doesn't turn on | No voltage at the board, or polarity reversed | Measure at the socket: 8.0 V, + on the right side. Then press and hold the power button for 3 seconds. |
| Cuts out or resets at high volume | Adapter or converter can't supply the peaks | Use a genuine 12 V 2–3 A adapter; turn the CC trimmer fully clockwise; you can raise the output to 8.2 V. |
| Low-battery beep or blinking LED | Voltage set too low or dropping under load | Re-check the output under load and set it to 8.0–8.2 V. |
| Hum or buzz | Noisy cheap adapter | Solder a 470–1000 µF, 16 V (or higher) electrolytic capacitor across OUT+ and OUT− (stripe to −), for example from our electrolytic capacitor kit, or try another adapter. |
| Converter very hot | No airflow, or an undersized module | Mount it with space around it; use the 5 A XL4015 for loud use. |
Frequently asked questions
Can I use a 12 V 1 A adapter?
It will play at low and medium volume, but loud bass can make it cut out. 12 V 2 A is the minimum we recommend; 12 V 3 A gives comfortable headroom.
Can I use a 9 V adapter instead of 12 V?
Not with this setup. A buck converter needs roughly 1.5–2 V more at its input than it outputs, so 9 V in leaves too little room for a steady 8 V out under load. Use 12 V.
Can I use an LM2596 instead of an XL4015?
Yes, for everyday listening. An LM2596 module is rated 3 A and is fine at normal volumes; it runs hotter than an XL4015 if you play at full volume for hours.
Can I keep the battery and add DC power as well?
Not by simply connecting both: feeding 8 V onto a working battery is charging it without any control. Keeping the battery means building a proper 2S charging circuit with protection, which is a different project. This guide is for running without a battery.
Can I run it from a 12 V car socket or a solar battery?
Yes. The XL4015 accepts a wide input range, so a car's 12 V socket, a 12 V lead-acid battery or a small 12 V solar system works, as long as you keep the polarity right. Add an inline fuse of about 3 A on battery and car setups.
Will this work on other boAt Stone speakers?
The method is the same for most battery speakers. Read the battery label: for a 7.2/7.4 V (2-cell) pack set 8.0 V; for a 3.7 V (1-cell) pack set 4.0 V and use a 5 V or 12 V adapter.
Does this void the warranty?
Yes. Opening the speaker ends the warranty, so do this only once the speaker is out of warranty or the battery is already dead.
Wrapping up
A dead battery doesn't mean a dead speaker. With a 12 V adapter, a buck converter set to 8.0 V and an hour at the workbench, your boAt Stone 1500 turns into a mains-powered speaker that is always ready to play. Check every voltage with a meter before you connect it and the mod is safe and reliable.
Need the parts? CircuitDukaan stocks buck converters, multimeters, soldering irons and solder, with GST invoices and delivery across India.
CircuitDukaan is not affiliated with boAt. "boAt" and "Stone 1500" are trademarks of their owner and are used here only to identify the product. You modify your device at your own risk.
Related products
Products linked to this article.
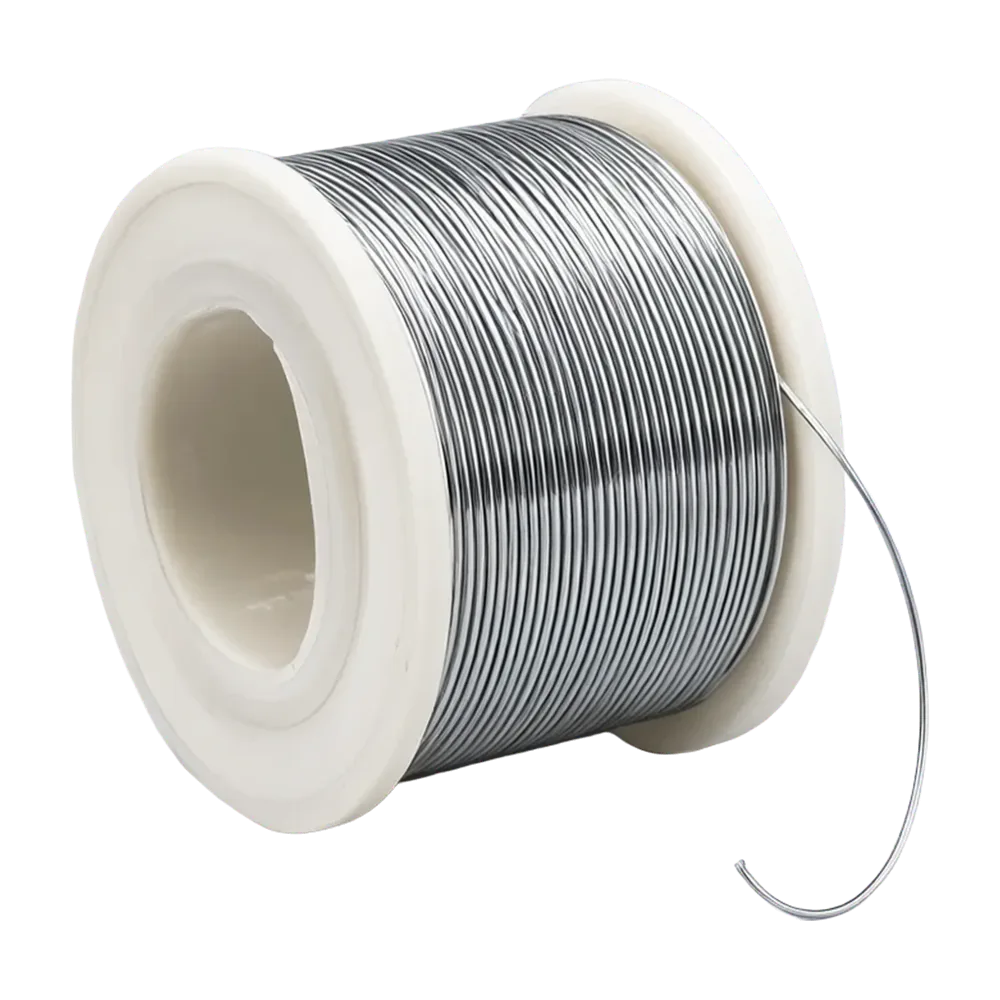 Solder Wire 63/37 0.8 mm – 50 g₹169.00₹299.00Out of stockView product
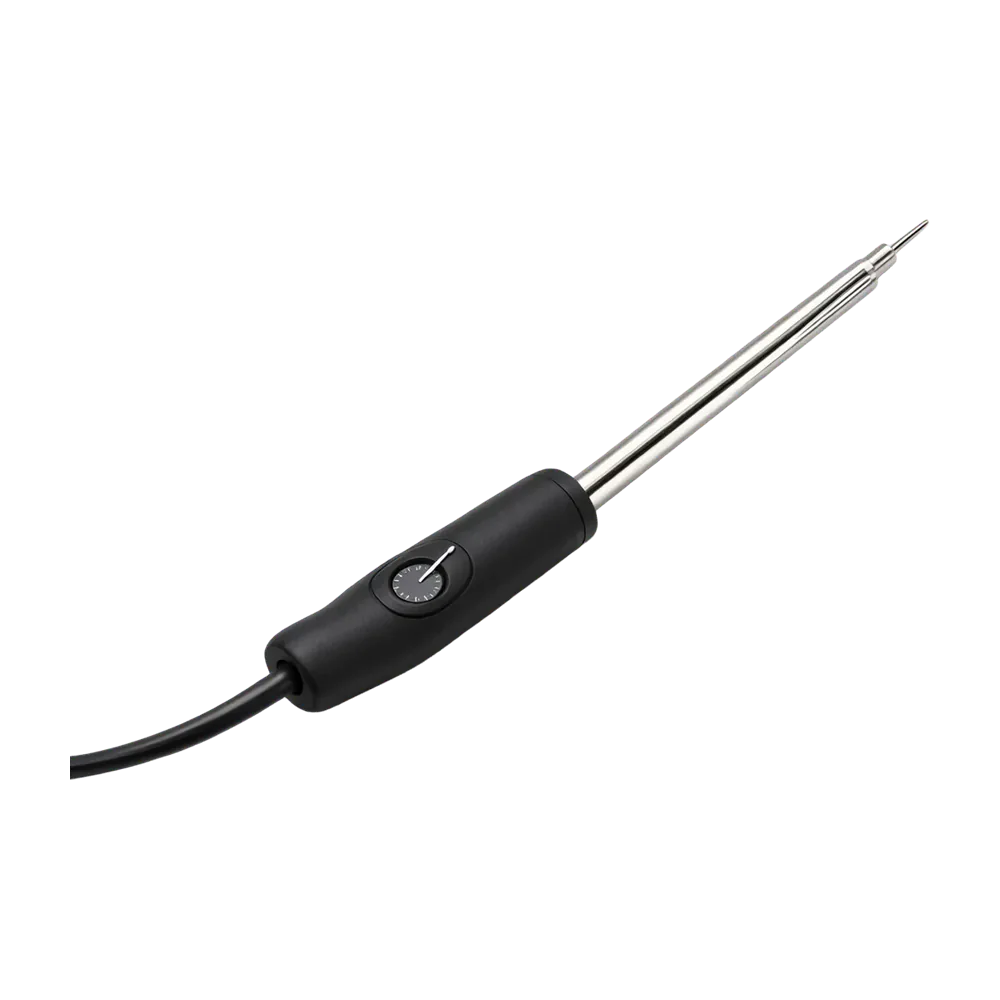 60 W Adjustable Soldering Iron₹349.00₹599.00Out of stockView product
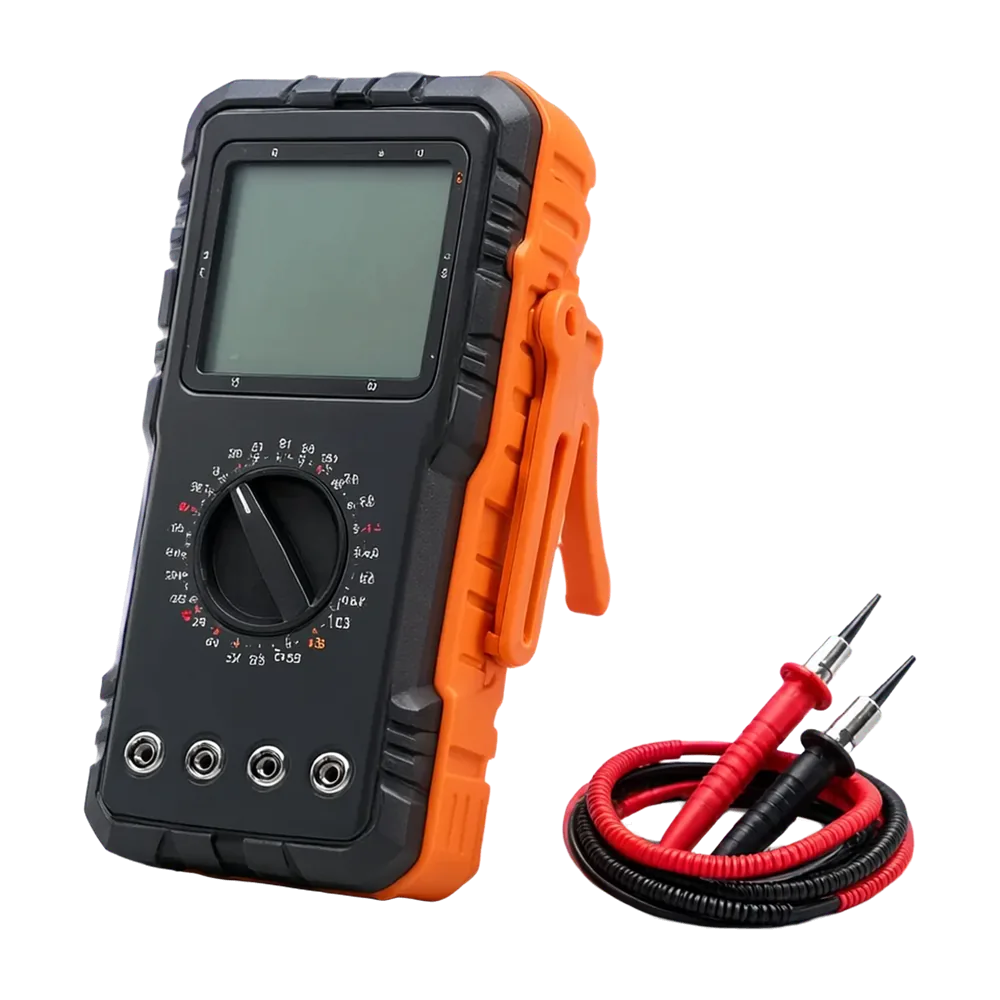 DT9205A Digital Multimeter₹419.00₹699.00Out of stockView product
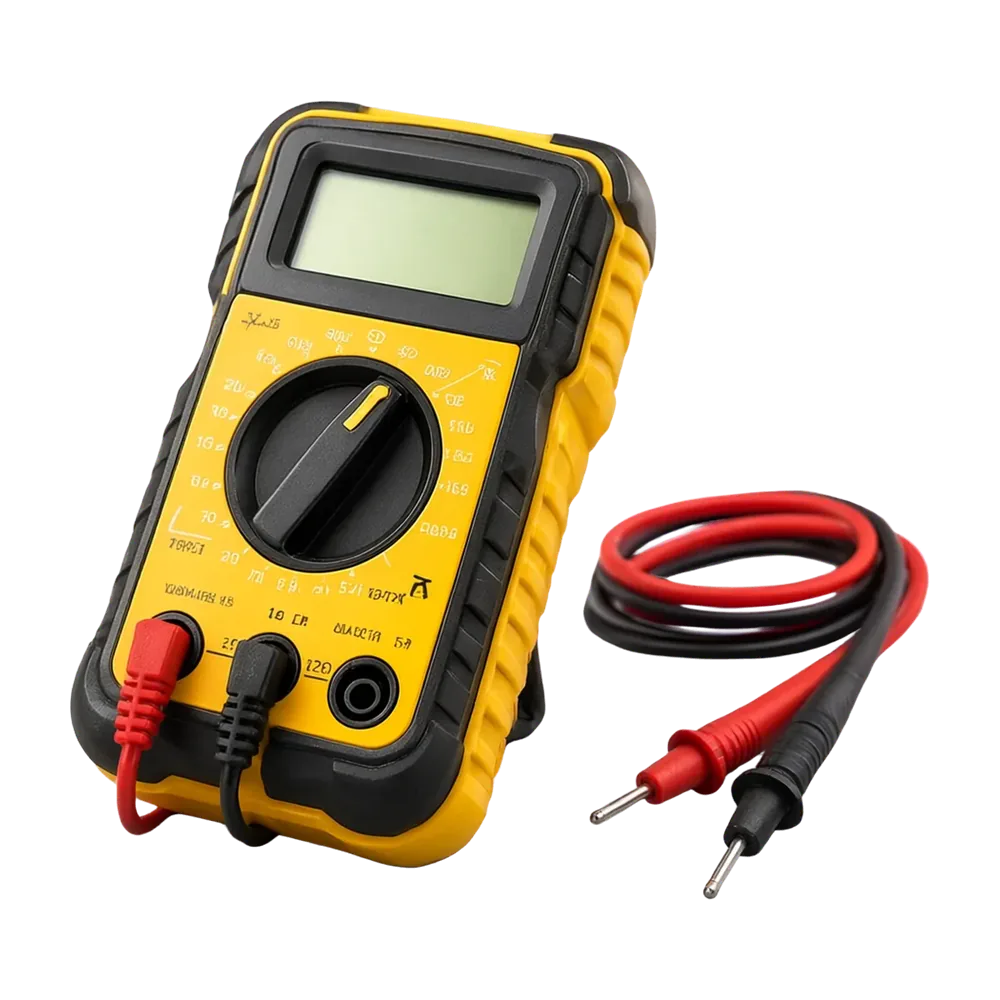 DT830D Digital Multimeter₹199.00₹349.00Out of stockView product
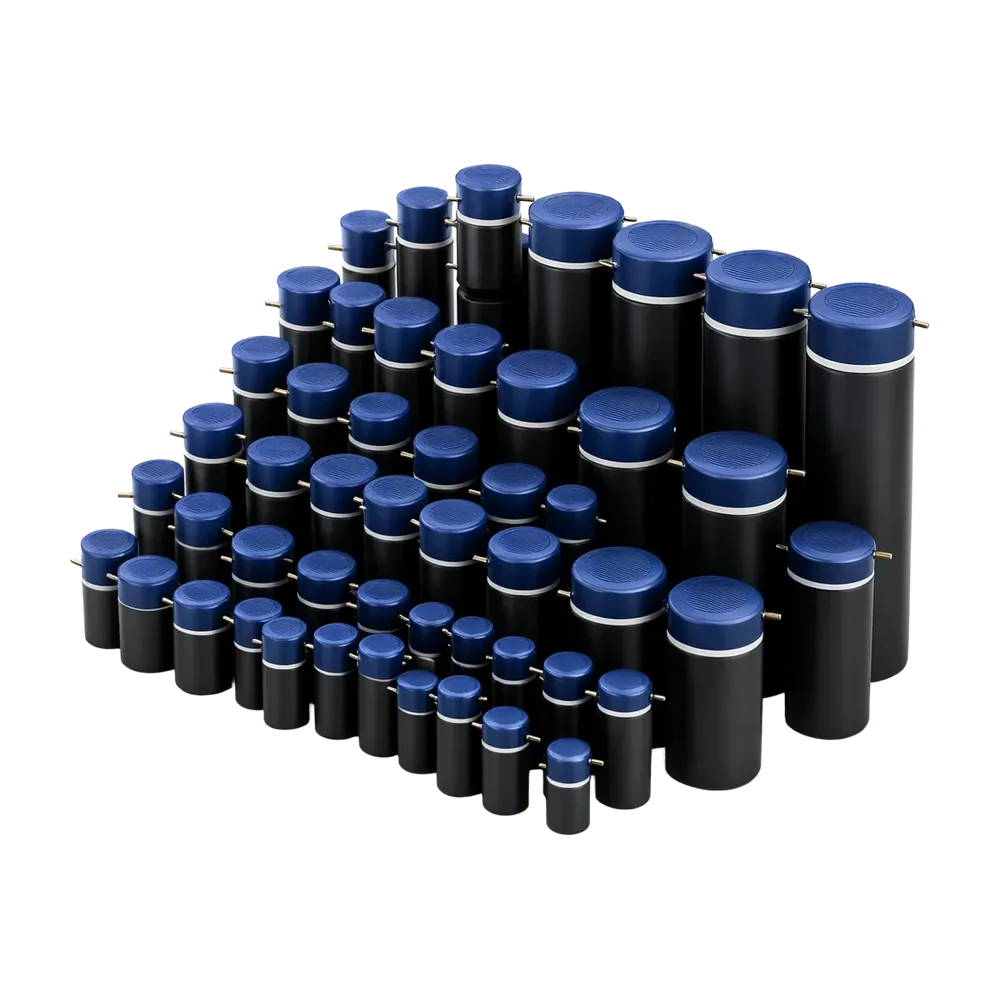 Electrolytic Capacitor Kit 120 pcs₹169.00₹299.00Out of stockView product
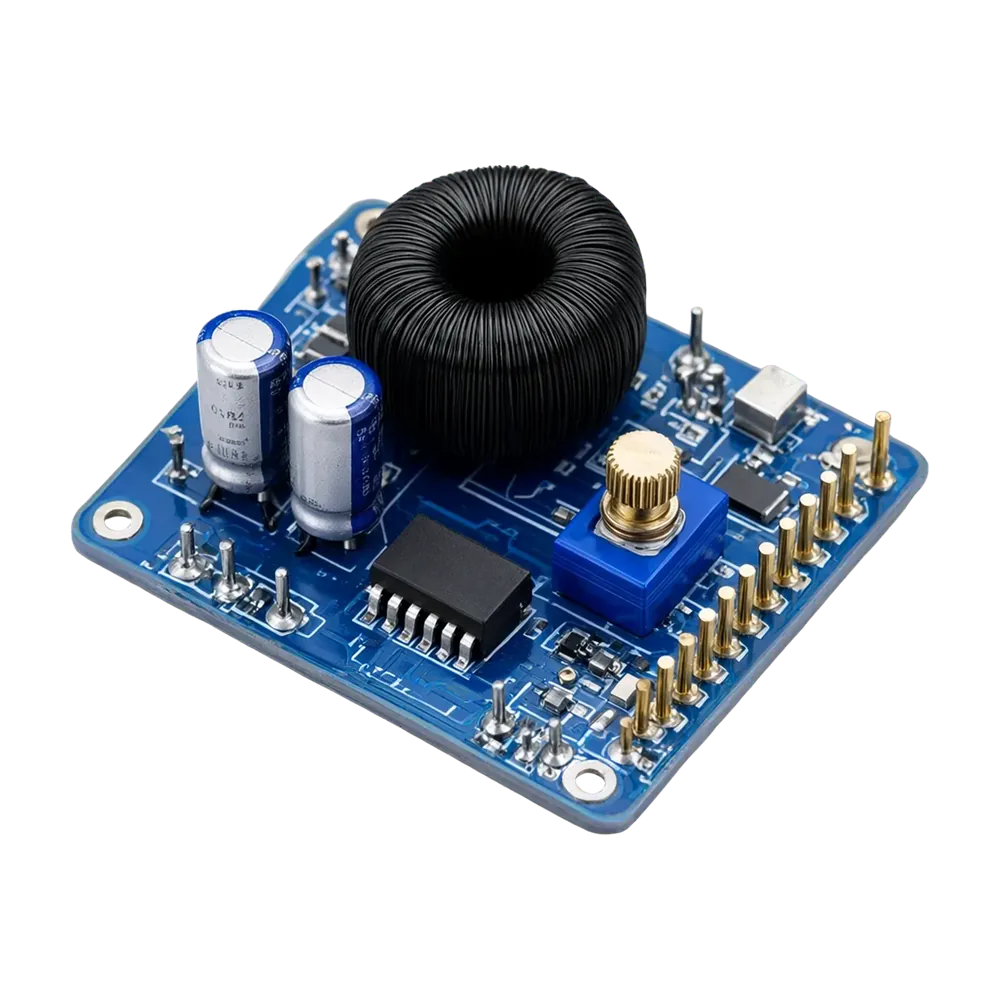 LM2596 Buck Converter (1.25–35 V, 3 A)₹79.00₹149.00Out of stockView product
- #boAt Stone 1500
- #Battery bypass
- #Buck converter
- #XL4015
- #DIY repair
- #Bluetooth speaker