
How to Build a DIY Crypto Hardware Wallet for Bitcoin, Ethereum and BSC (STM32 + OLED)
Build your own hardware wallet from an STM32 board, a 0.96" SPI OLED and two buttons, running the open-source Trezor One firmware. Wiring, firmware build, flashing, and setup for BTC in Trezor Suite and ETH/BSC in MetaMask.
 By circuitdukaan11 min read
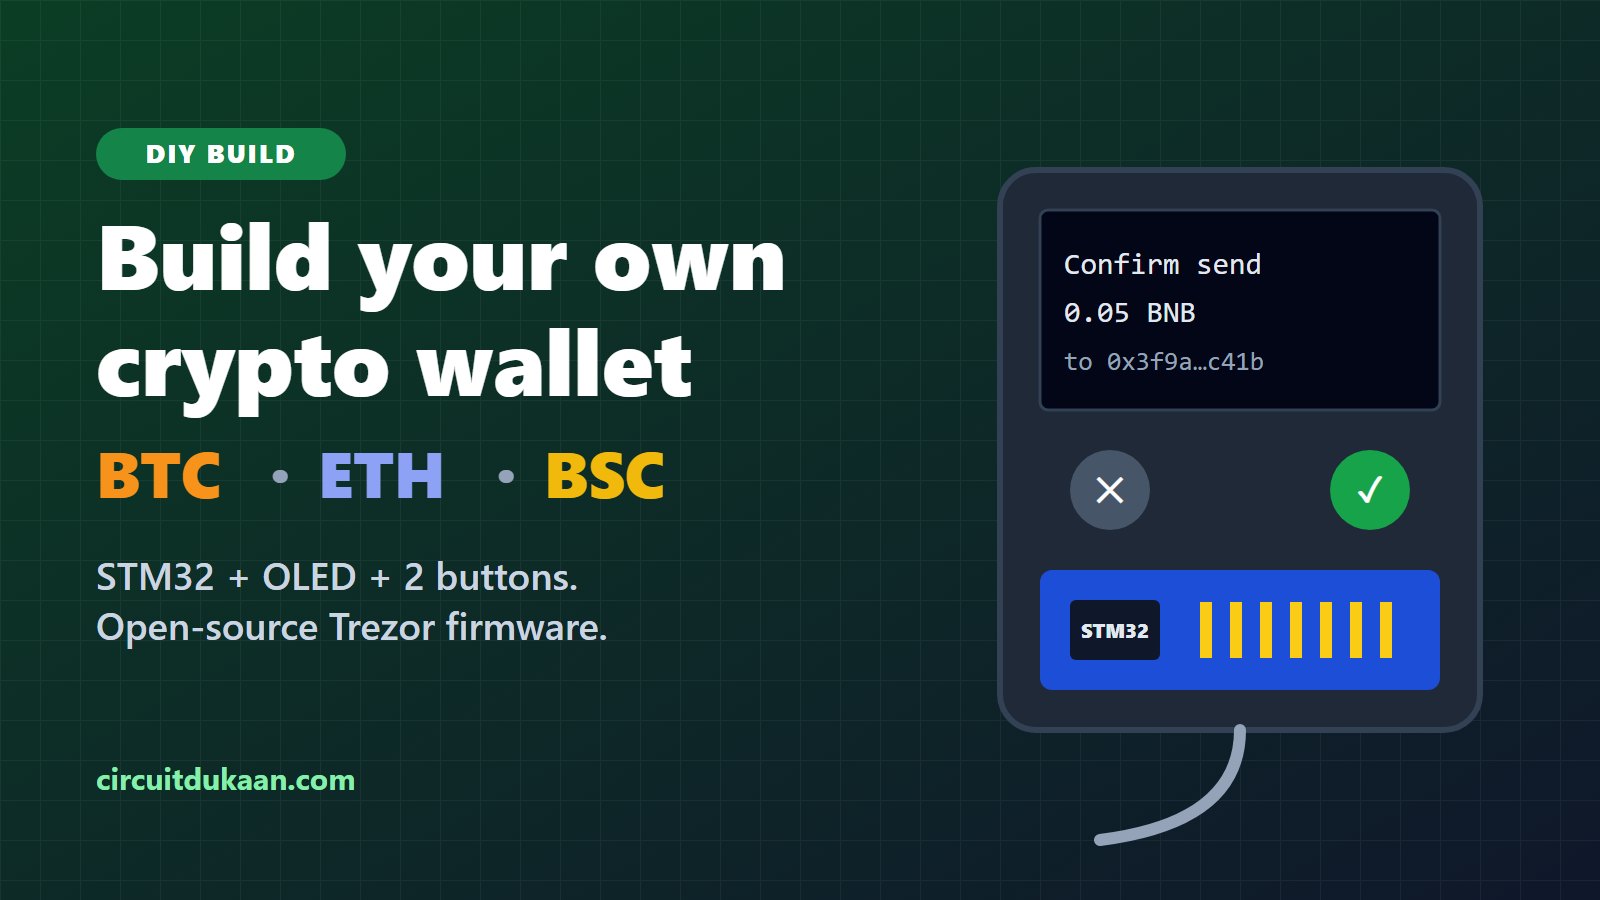
A hardware wallet keeps your crypto's private keys on a small device that never connects to the internet by itself – the keys stay inside, and only signed transactions come out. In this project you'll build your own DIY crypto hardware wallet for Bitcoin (BTC), Ethereum (ETH) and BNB Smart Chain (BSC) from an STM32 development board, a 0.96" OLED display and two push buttons, running the open-source Trezor One firmware.
The finished wallet works with Trezor Suite for Bitcoin and with MetaMask (or Rabby) for Ethereum, BSC and their tokens. Total cost is roughly ₹2,500–3,500.
Read this first: a DIY wallet is a brilliant way to learn how hardware wallets work, but it is not as safe as a factory-made one. Its debug port stays open and it runs unofficial firmware. Use it for learning and small amounts, always set a passphrase, and keep serious savings on a certified hardware wallet. Nothing here is financial advice.
What you're building
Every modern wallet starts from a list of recovery words (a BIP39 seed). From those words the device calculates separate accounts for each coin. Bitcoin uses its own path, while Ethereum and BSC are both "EVM" chains that use the same keys – so your ETH address and your BSC address are the same 0x… address.
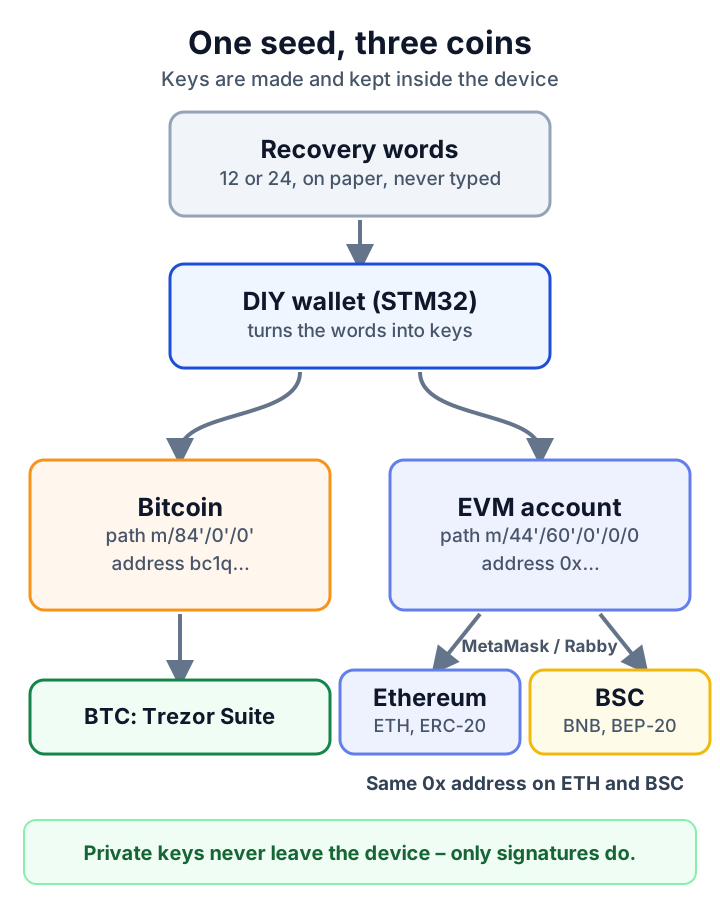
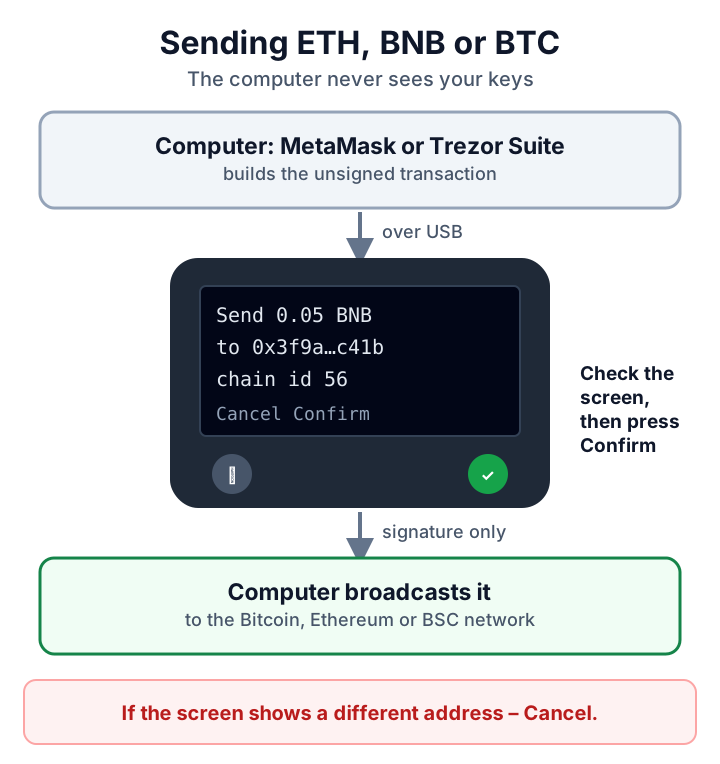
When you send coins, the app on your computer prepares the transaction and passes it to the wallet over USB. The wallet shows the amount and address on its own screen, you press the confirm button, and it returns only the signature – never the keys.
How safe is a DIY hardware wallet?
| This DIY build | Factory Trezor One | Secure-element wallets | |
|---|---|---|---|
| Keys stay off the computer | Yes | Yes | Yes |
| Confirm on device screen | Yes | Yes | Yes |
| Secure chip | No | No | Yes |
| Debug port locked | No – open by design | Yes | Yes |
| Signed official firmware | No (you build it) | Yes | Yes |
| Good for | Learning, small amounts | Everyday holdings | Large holdings |
The biggest difference is the open debug port. Anyone who gets the device and an ST-Link could read its memory and try to brute-force your PIN offline. The defence is a BIP39 passphrase (sometimes called the "25th word"): without it, the stored seed alone doesn't open your real wallet. Treat the passphrase as mandatory on this build.
Parts list
| Part | What to buy | Approx. price |
|---|---|---|
| STM32 board | STM32F405RGT6 or STM32F407VGT6 board with 1 MB flash, 8 MHz crystal and micro-USB | ₹1,500–2,500 |
| Display | 0.96" 128×64 SSD1306 OLED, 7-pin SPI version | ₹250–400 |
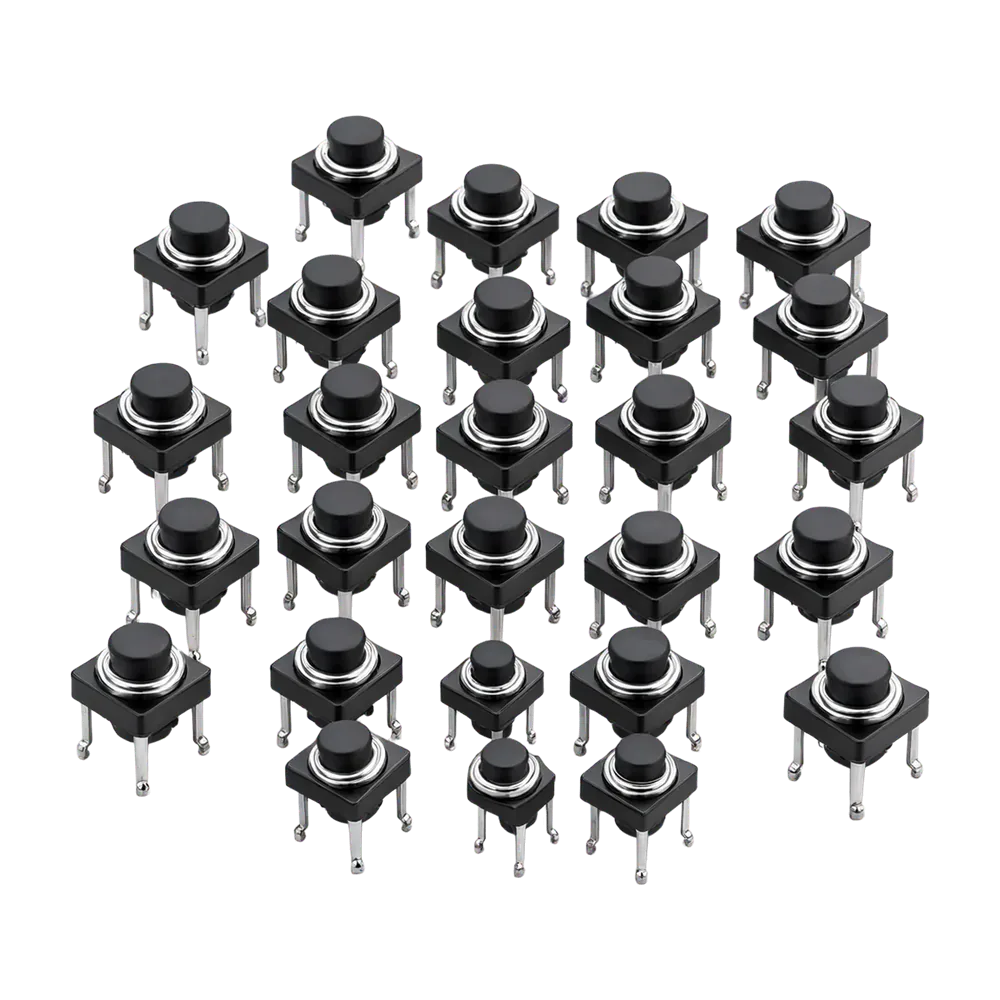
| Buttons | 2 × 6×6 mm tactile push buttons | ₹10 |
| Programmer | ST-Link V2 (USB SWD programmer) | ₹350–500 |
| Wiring | Jumper wires, a breadboard or perfboard, male header pins | ₹150–300 |
| Cable | Micro-USB data cable (not charge-only) | ₹100 |
| Tools | Soldering iron, solder, multimeter for checking connections | – |
Important: the common 4-pin (GND, VCC, SCL, SDA) OLED is the I2C version and will not work – the firmware drives the display over SPI. Buy the 7-pin module labelled GND, VCC, D0, D1, RES, DC, CS.
Choosing the STM32 board
The original Trezor One uses an STM32F205. Bare F205 boards are rare, so DIY builders use the pin-compatible STM32F405 or STM32F407, which run the same firmware. Check four things before you buy:
- 8 MHz crystal (HSE) on the board – the firmware sets its clock for exactly 8 MHz.
- 1 MB flash (part numbers ending in GT6). Current firmware is large; 512 KB (ET6) parts may not fit it.
- USB socket wired to PA11/PA12 (USB OTG FS) – true for almost every F4 board with a micro-USB port.
- Pins PA4, PA5, PA7, PB0, PB1, PC2 and PC5 reachable on the headers. An on-board LED on one of them is harmless.
Step 1: Wire it up
All the pin numbers below come straight from the Trezor One firmware source, so the display and buttons work without changing any code.
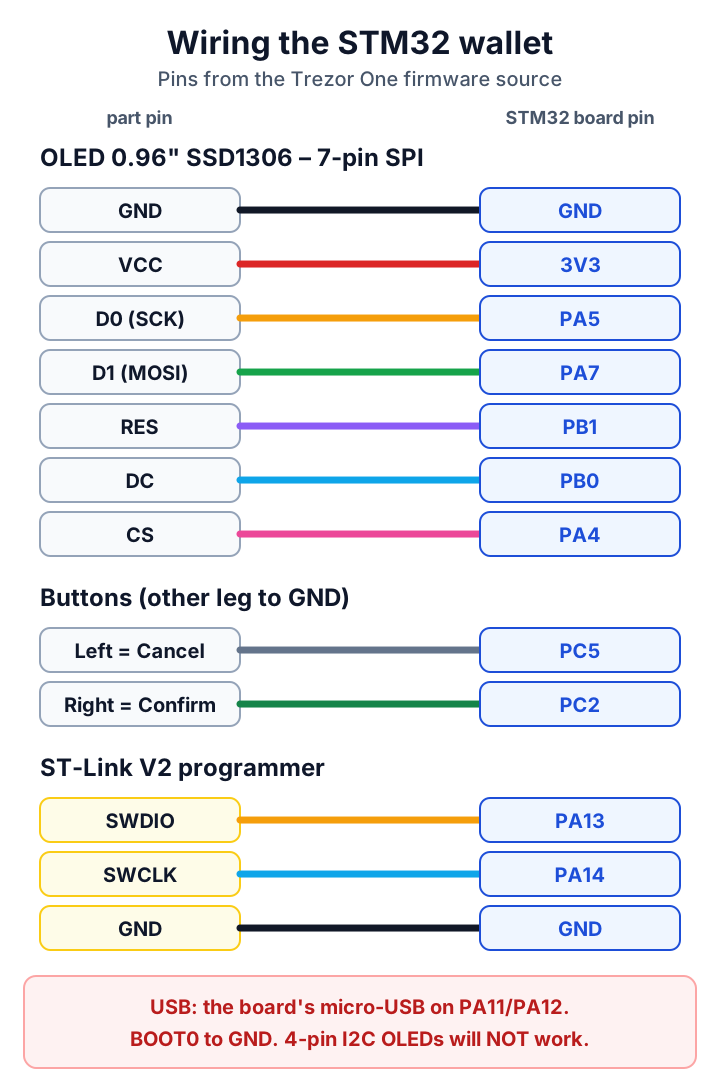
| From | To STM32 pin | Notes |
|---|---|---|
| OLED GND / VCC | GND / 3V3 | 3.3 V only |
| OLED D0 (SCK) | PA5 | SPI1 clock |
| OLED D1 (MOSI) | PA7 | SPI1 data |
| OLED RES | PB1 | Display reset |
| OLED DC | PB0 | Data / command |
| OLED CS | PA4 | Chip select |
| Left button (Cancel) | PC5 → button → GND | Internal pull-up, active low |
| Right button (Confirm) | PC2 → button → GND | Internal pull-up, active low |
| ST-Link SWDIO / SWCLK / GND | PA13 / PA14 / GND | For flashing only |
| BOOT0 | GND | Boot from flash |
Build it on a breadboard first. Once everything works, move it to a perfboard and solder it so nothing comes loose – check each joint with the multimeter's continuity test (our multimeter guide shows how).
Step 2: Prepare the build computer
The firmware builds on Linux. On Windows, install WSL2 with Ubuntu from the Microsoft Store and run these commands inside it:
sudo apt update
sudo apt install -y git make gcc-arm-none-eabi protobuf-compiler python3 stlink-tools
curl -LsSf https://astral.sh/uv/install.sh | sh
The official build expects a specific version of the ARM GCC toolchain. If the build fails with compiler errors, check the version listed in the repository's ci/Dockerfile and install that one.
Step 3: Build the bootloader and firmware
git clone --recurse-submodules https://github.com/trezor/trezor-firmware.git
cd trezor-firmware
git tag -l 'legacy/v1*'          # pick the newest release tag
git checkout legacy/v1.X.Y       # replace with that tag
git submodule update --init --recursive
cd legacy
uv sync
export PRODUCTION=0
uv run ./script/setup
uv run ./script/cibuild
Never skip export PRODUCTION=0. If it is missing, the build defaults to production mode, which turns on memory protection. Flashed onto your board, that can permanently lock the bootloader area and disable the debug port – you would not be able to reflash the chip.
Leave BITCOIN_ONLY unset – the Bitcoin-only build has no Ethereum support. When the build finishes you have two files: legacy/bootloader/bootloader.bin and legacy/firmware/trezor.bin.
Step 4: Flash it with the ST-Link
The repository includes a small script that joins the bootloader and the firmware into one image with the right gap between them:
cd bootloader/combine
cp ../bootloader.bin bl.bin
cp ../../firmware/trezor.bin fw.bin
python3 prepare.py
st-flash write combined.bin 0x8000000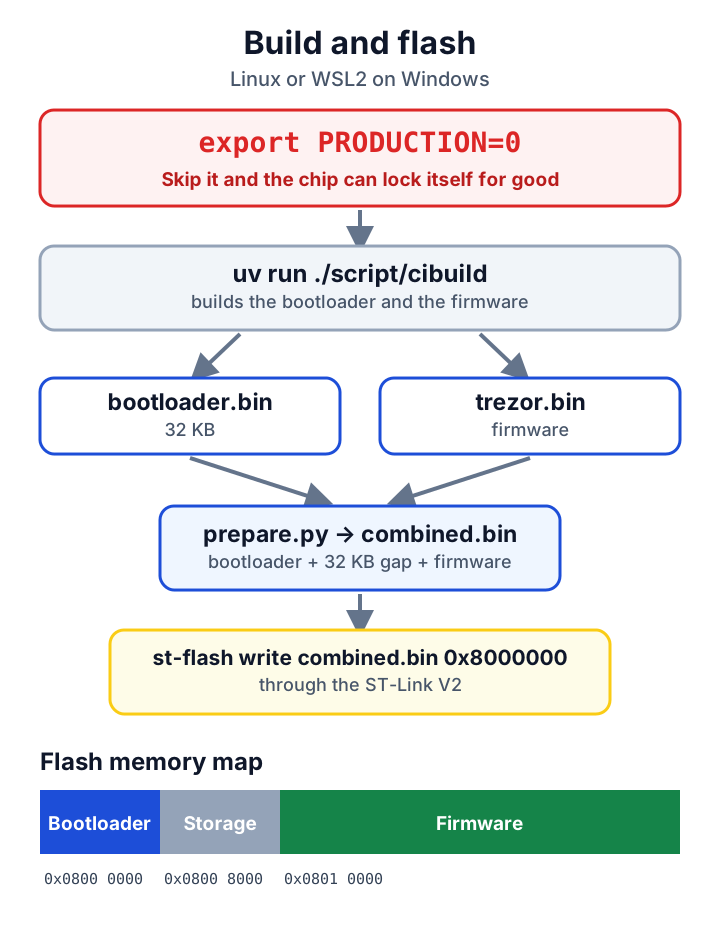
WSL2 can't see USB devices without extra setup. The easy way is to copy combined.bin to Windows and write it with STM32CubeProgrammer (free from ST): connect via ST-LINK/SWD, open the file and download it at address 0x08000000.
If the screen stays blank or the board keeps resetting, check the wiring and BOOT0 first. If it still won't start, read the "PRODUCTION combinations" table in the official legacy firmware docs – some older firmware versions need a different bootloader/firmware combination.
Step 5: First start and wallet setup
- Disconnect the ST-Link and plug the board's micro-USB into your computer. The OLED should light up.
- Open Trezor Suite (desktop app or web). It will show "Unofficial firmware detected". That is expected – you built the firmware yourself. Read the warning, then choose to continue.
- Choose Create new wallet. The device generates the recovery words itself – write them on paper in order. Never photograph them or type them into a computer or phone.
- Set a PIN. The device shows a scrambled number grid, and you click the matching positions on the computer, so a keylogger can't learn the PIN.
- In Suite's settings, turn on Passphrase. Choose a long passphrase and store it separately from the recovery words.
Before you send any coins, test the recovery. Note your first receive address, wipe the device in Suite, choose Recover wallet, type the words on the device, and check that the same address comes back. DIY hardware can fail – the recovery words are your real backup.
Step 6: Bitcoin with Trezor Suite
Add a Bitcoin account in Suite (native SegWit, addresses starting with bc1q). Click Receive, and check that the address on the OLED matches the one on the screen before you share it. To send, enter the address and amount in Suite and confirm each detail on the device with the right button.
Step 7: Ethereum and BSC with MetaMask
- In MetaMask, open the account menu and choose Add hardware wallet → Trezor. Follow the Trezor Connect window (it will show the same unofficial-firmware warning).
- Pick the first account. Its 0x… address is your Ethereum address.
- Add BNB Smart Chain as a network (if MetaMask doesn't already list it):
| Field | Value |
|---|---|
| Network name | BNB Smart Chain |
| RPC URL | https://bsc-dataseed.bnbchain.org |
| Chain ID | 56 |
| Currency symbol | BNB |
| Block explorer | https://bscscan.com |
Switch MetaMask to BNB Smart Chain and you'll see the same 0x address – the wallet signs for both chains. Tokens such as USDT (ERC-20 or BEP-20) show up once you import them in MetaMask on the right network. Rabby works the same way.
Step 8: Test with a tiny amount
Send a very small amount to each address first – a little BTC, a little ETH and a little BNB. Then send part of it back out, confirming on the device each time, and check every transaction on a block explorer. Only once all three work should you trust the wallet with more – and even then, keep it to amounts you're comfortable learning with.
Finishing touches
- Solder everything onto a perfboard and put it in a small 3D-printed or plastic case with the two buttons on top.
- Cover or remove the ST-Link header pins so the debug port isn't sitting there exposed.
- Label the left button ✕ and the right button ✓.
- Keep the recovery words and the passphrase in two different safe places.
Troubleshooting
| Problem | Likely cause | Fix |
|---|---|---|
| OLED stays dark | I2C display, or a wrong pin | Use the 7-pin SPI OLED; recheck PA4, PA5, PA7, PB0, PB1 and 3V3 |
| st-flash can't find the chip | SWD wiring or BOOT0 | Check SWDIO→PA13, SWCLK→PA14, GND; hold RESET while connecting |
| Computer doesn't see the wallet | Charge-only cable, or USB not on PA11/PA12 | Try a data cable; check the board's USB wiring |
| Board resets in a loop | Wrong crystal, firmware too big, or a PRODUCTION mismatch | Use an 8 MHz, 1 MB board; rebuild with PRODUCTION=0 |
| Buttons do nothing | Button wired to 3.3 V instead of GND | Wire PC2 and PC5 through the buttons to GND |
| Suite warns about firmware | You built it yourself | Expected on a DIY build |
Frequently asked questions
Can I really build my own hardware wallet?
Yes. The Trezor One firmware is open source, and its display and buttons are simple parts, so it runs on a pin-compatible STM32 board. You get the same "keys stay on the device, confirm on the screen" workflow – just without the factory security locks.
Does it support USDT, BNB and other tokens?
On Ethereum and BNB Smart Chain, yes – tokens live at your 0x address, and MetaMask signs token transfers through the wallet. Bitcoin is handled in Trezor Suite.
What if the DIY board breaks?
Your coins are on the blockchain, not in the device. Restore your recovery words (and passphrase) into a new DIY wallet or any compatible BIP39 wallet. Bitcoin uses the path m/84'/0'/0' and Ethereum/BSC use m/44'/60'/0'/0/0.
Can I use an ESP32 instead?
Not with this firmware – it is written for STM32 chips. ESP32 DIY wallets exist, but most open-source ones support Bitcoin only.
Does the wallet need internet?
No. The device itself never goes online; the computer with Trezor Suite or MetaMask talks to the blockchain and only asks the wallet for signatures.
Wrapping up
With an STM32 board, a 7-pin SPI OLED, two buttons and an ST-Link, you can build a working hardware wallet for Bitcoin, Ethereum and BSC in an afternoon – and understand exactly how one works inside. Build it on a breadboard, flash it with PRODUCTION=0, test the recovery before funding it, and keep the amounts small.
CircuitDukaan is not affiliated with SatoshiLabs. "Trezor" is a trademark of its owner, used here only to identify the open-source firmware (GPLv3) this project runs. You build and use this device at your own risk; this article is not financial advice.
Related products
Products linked to this article.
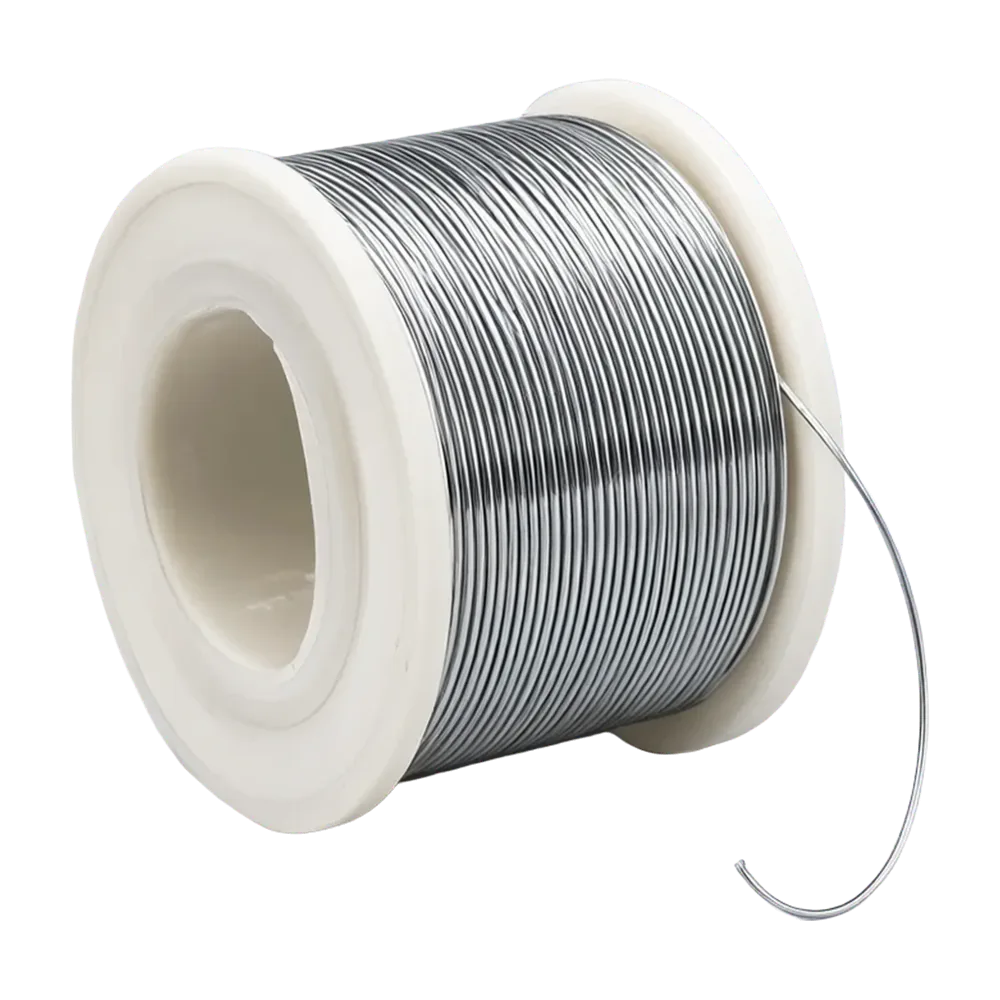 Solder Wire 63/37 0.8 mm – 50 g₹169.00₹299.00Out of stockView product
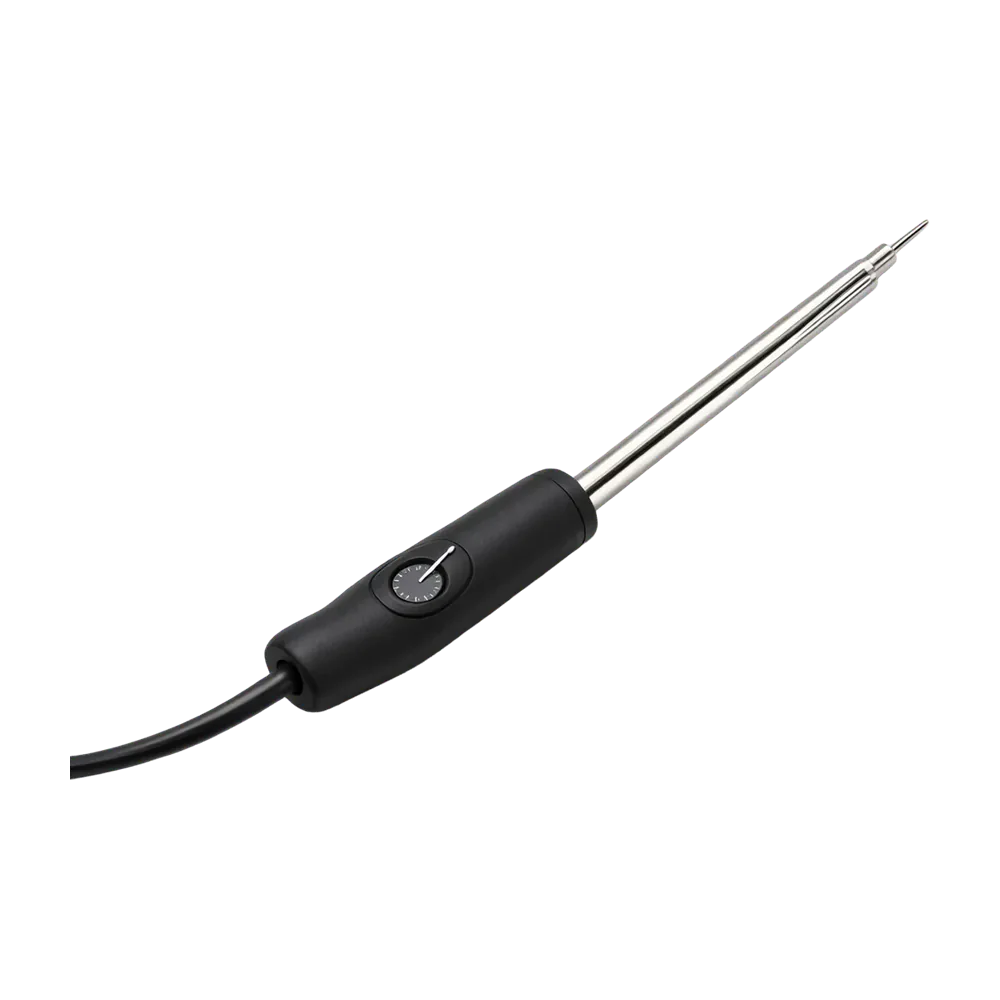 60 W Adjustable Soldering Iron₹349.00₹599.00Out of stockView product
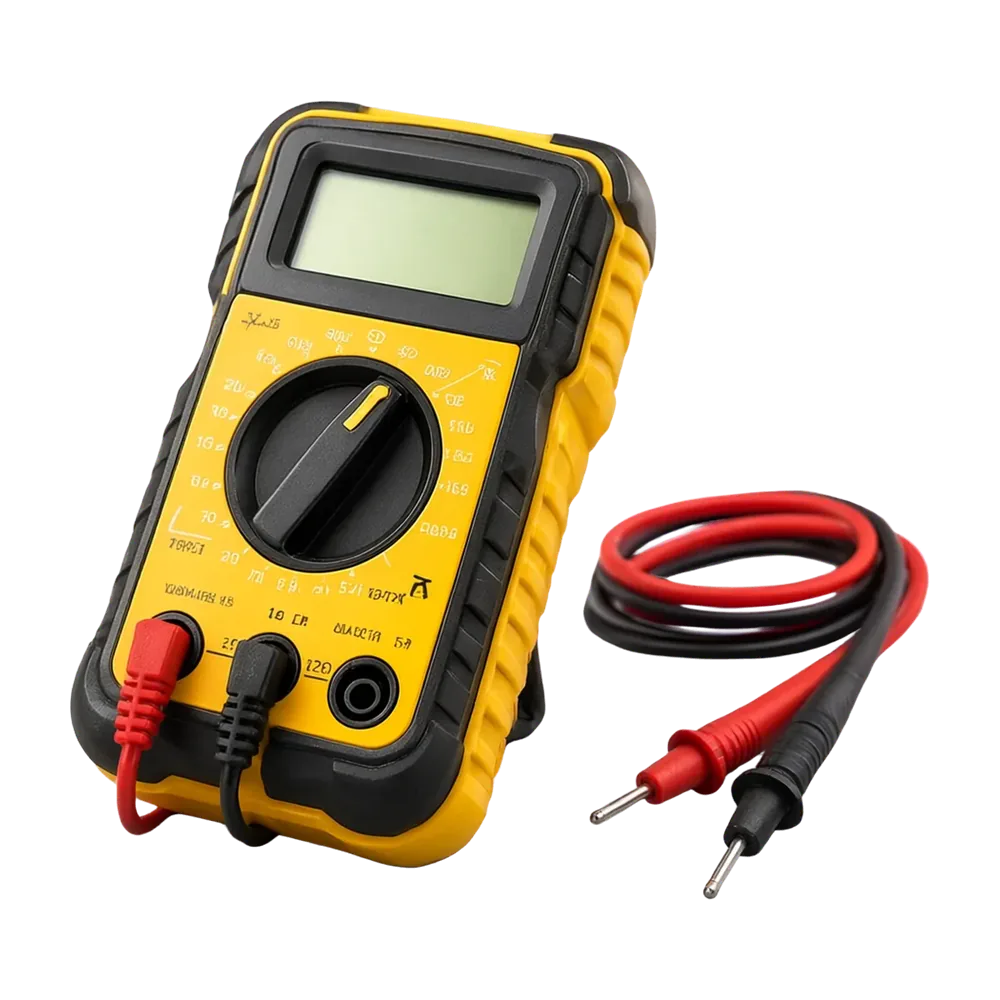 DT830D Digital Multimeter₹199.00₹349.00Out of stockView product
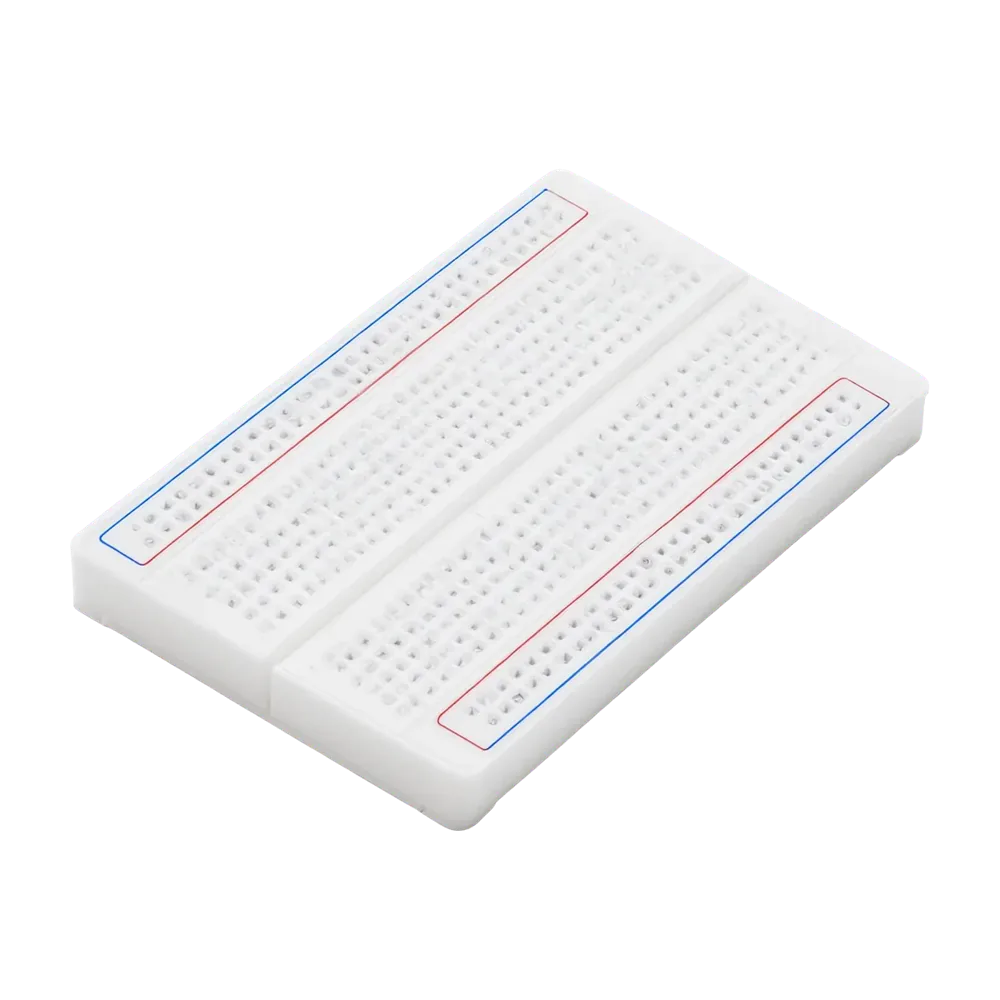 MB102 830-Point Breadboard₹69.00₹149.00Out of stockView product
 Male Berg Strip 40 Pin – Pack of 5₹29.00₹59.00Out of stockView product
 Jumper Wire Set 120 pcs (20 cm)₹115.00₹199.00Out of stockView product
 Tactile Push Button 6x6 – Pack of 20₹35.00₹69.00Out of stockView product
- #Hardware wallet
- #Crypto
- #STM32
- #Bitcoin
- #Ethereum
- #BSC
- #DIY project