
How to Use a Multimeter: Step-by-Step Beginner's Guide (DT830D)
Measure voltage, resistance, continuity, diodes, current and transistors with a digital multimeter. Simple steps for the DT830D with diagrams, typical readings and safety tips – no experience needed.
 By circuitdukaan12 min read
A multimeter is the first tool every electronics hobbyist, student and repair technician should own – and the one most people use wrongly the first few times. This guide shows you how to use a multimeter step by step: how to read the dial, where the probes go, and how to measure voltage, resistance, continuity, diodes, current and transistors. We use the popular DT830D, but the same steps work on almost every cheap digital multimeter in India.
Quick answer: black lead in COM, red lead in VΩmA. Turn the dial to what you want to measure (DCV for batteries and circuits, Ω for resistance, ▶| for diodes) and pick the range just above the value you expect. Volts and ohms are measured across a part; current is measured in series, with the circuit broken and the meter filling the gap.
What is a multimeter? (Multimeter kya hai?)
A multimeter is one instrument that does the job of several: a voltmeter (volts), an ammeter (current) and an ohmmeter (resistance). Most digital multimeters add a diode test and a transistor tester, and better ones add a continuity buzzer and a capacitance range. You turn the dial to choose what to measure, connect the two probes, and read the number on the display.
Know your DT830D: display, dial and jacks
The DT830D is a 3½-digit meter: the display shows up to 1999. The dial is split into colour-coded sections, and the meter has three jacks for the test leads.
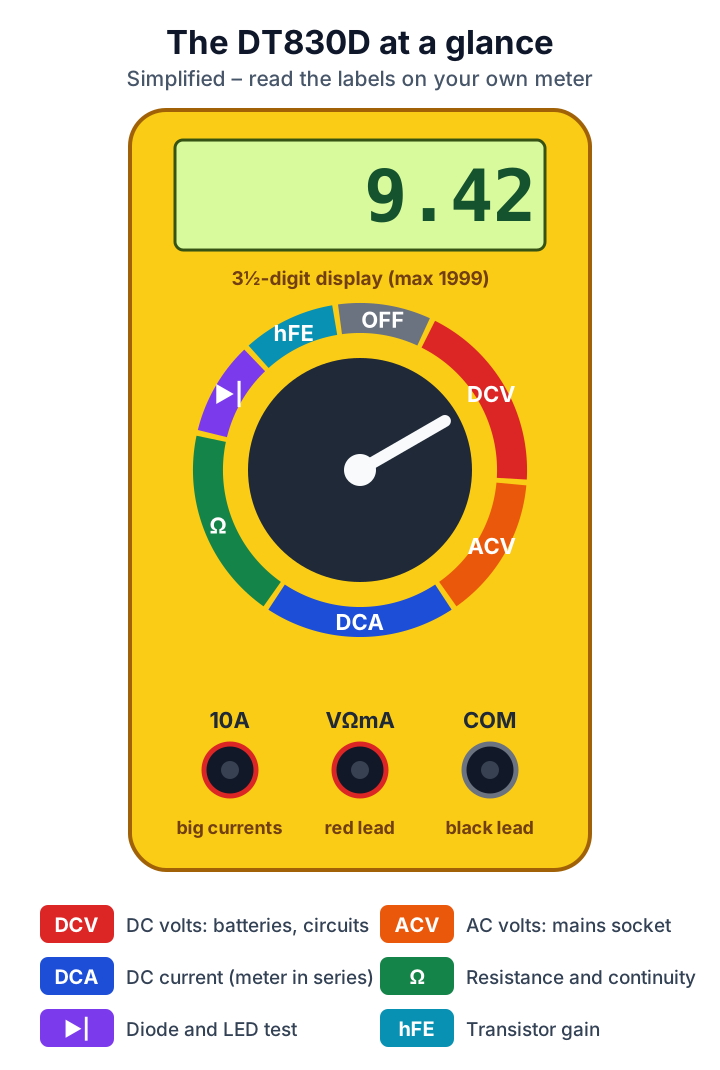
| Dial section | Measures | DT830D ranges |
|---|---|---|
| DCV | DC voltage: batteries, adapters, circuits | 200 mV, 2000 mV, 20 V, 200 V, 1000 V |
| ACV | AC voltage: mains sockets | 200 V, 750 V |
| DCA | DC current | 200 µA, 2000 µA, 20 mA, 200 mA, 10 A |
| Ω | Resistance and continuity | 200 Ω, 2000 Ω, 20 kΩ, 200 kΩ, 2000 kΩ |
| ▶| | Diodes and LEDs | Shows forward voltage in mV |
| hFE | Transistor gain | Socket for NPN and PNP transistors |
The black lead always goes in COM. The red lead goes in VΩmA for almost everything, and in 10A only when you measure currents above 200 mA.
How to pick the right range
The DT830D is a manual-ranging meter: the number printed next to each dial position is the highest value that range can show. Choose the first range above the value you expect. For a 9 V battery use 20 V; for a 12 V adapter use 20 V; for a 1 kΩ resistor use 2000 Ω. If you don't know what to expect, start at the highest range and turn down until you get a useful reading.
Safety rules before you measure anything
- Set the dial before you connect the probes, and never turn the dial while the probes touch a live circuit.
- Never measure voltage with the red lead in a current jack (VΩmA on DCA, or 10A). In current mode the meter is almost a short circuit.
- Resistance, continuity and diode tests only with the power OFF, and discharge big capacitors first.
- Hold the probes by their insulated grips; keep your fingers behind the finger guards.
- The DT830D is a basic meter for low-voltage electronics. Don't use it on distribution boards, inverters or anything high-energy – that needs a CAT III rated meter.
1. How to measure DC voltage
This is the measurement you'll make most: checking batteries, adapters, power supplies and the voltage at any point in a circuit.
- Black lead in COM, red lead in VΩmA.
- Turn the dial to DCV and pick the range above the voltage you expect (9 V battery → 20).
- Touch the red probe to + and the black probe to − (or to the circuit's ground). The probes go across the battery or component – the meter is in parallel.
- Read the voltage. On the 20 V range, 9.42 means 9.42 V.
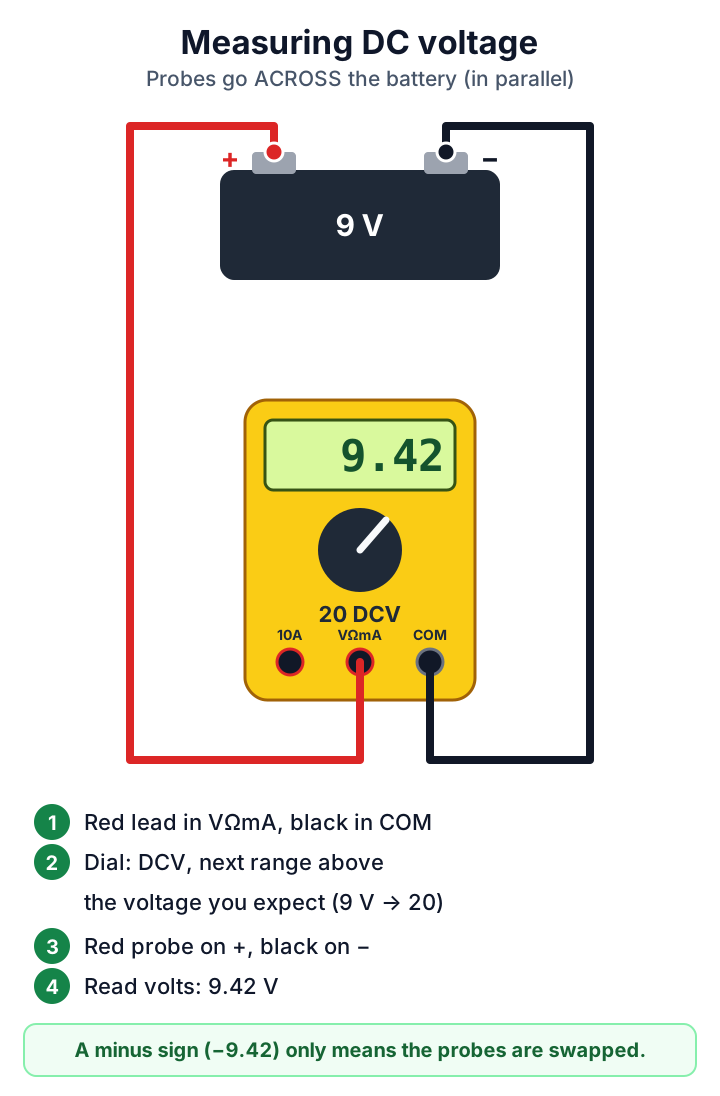
A minus sign in front of the reading only means the probes are the wrong way round – the voltage is the same. It's a handy way to find the positive wire of an unmarked adapter.
Is my battery good? Typical readings
| Battery or supply | Good | Weak / replace |
|---|---|---|
| AA / AAA (1.5 V alkaline) | 1.5–1.6 V | below 1.2 V |
| 9 V battery | 9.0–9.6 V | below 7.5 V |
| 18650 / Li-ion cell | 4.2 V full, 3.6–3.7 V half | 3.0 V or less = empty |
| USB charger / Arduino 5V pin | 4.75–5.25 V | below 4.6 V |
| 12 V adapter (no load) | 12–13 V | well below 11 V |
A battery can show a normal voltage with nothing connected and still collapse under load. If a device dies quickly, measure the battery again while the device is running.
Setting an adjustable supply is another everyday job for DCV – for example setting an LM2596 buck converter to exactly 5 V or 8 V before you connect anything, as we did in our boAt Stone 1500 battery bypass guide.
2. How to measure AC voltage (mains)
Mains in India is nominally 230 V AC, 50 Hz. Only measure it if you are comfortable doing so, with leads in good condition and dry hands.
- Red lead in VΩmA, black in COM – double-check the red lead is not in 10A.
- Dial to ACV 750.
- Insert the probes into the two holes of the socket (phase and neutral) using one hand, and keep the other hand away.
- Expect roughly 210–250 V. Remove the probes before you turn the dial.
3. How to measure resistance
- Power off the circuit. For an accurate reading take the resistor out of the circuit (or lift one leg) – other parts in parallel change the reading.
- Red lead in VΩmA, black in COM, dial to the Ω range above the expected value.
- Touch the probes to both ends. Resistors have no polarity.
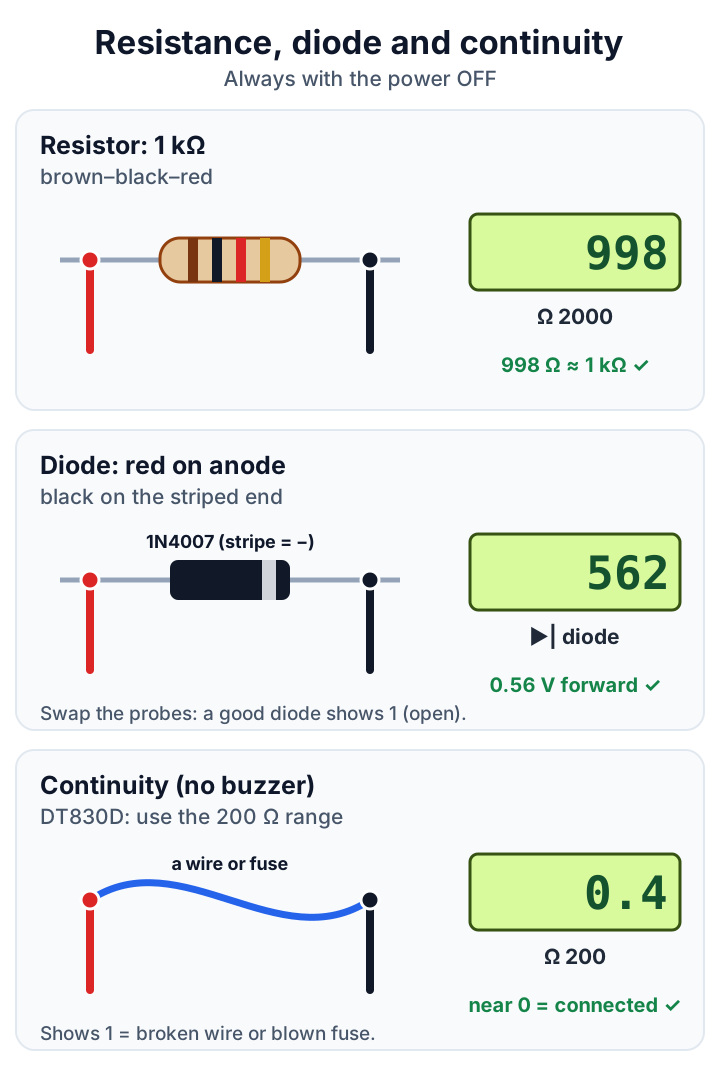
- Read the value in the unit of the range: on 2000 Ω a reading of 998 is 998 Ω; on 20k a reading of 4.68 is 4.68 kΩ.
If the display shows just a 1 on the left, the value is higher than the range – turn to the next range up. Don't hold both probe tips with your fingers: your body's resistance adds to high-value readings. Practising with a resistor kit is the fastest way to learn colour codes and ranges together.
4. How to test continuity (DT830D without a buzzer)
Continuity means "is there an unbroken path between these two points?" – a broken wire, a blown fuse, a cracked PCB track, a switch that won't close. The DT830D has no continuity buzzer, so use the lowest resistance range instead:
- Power off. Dial to Ω 200.
- Touch the probe tips together first – you'll see a small number like 0.3 (the leads' own resistance).
- Touch the two ends of the wire or fuse. Close to 0 = connected. 1 = open (broken wire, blown fuse, switch off).
If you check a lot of wiring, a meter with a buzzer such as the DT9205A saves time – you can keep your eyes on the probes instead of the display.
5. How to test a diode or LED
On the ▶| position the meter pushes a small current through the part and shows the forward voltage in millivolts.
- Power off. Dial to ▶|, red in VΩmA, black in COM.
- Red probe on the anode, black probe on the cathode (the end with the stripe).
- Read the value, then swap the probes and read again.
What should a good diode show on a multimeter?
A good diode conducts in one direction only, so it shows a low reading one way and "1" (open) the other way:
| Part | Forward (red on anode) | Reverse |
|---|---|---|
| Silicon diode, e.g. 1N4007 | about 500–700 (0.5–0.7 V) | 1 |
| Schottky diode, e.g. 1N5819 | about 150–350 | 1 |
| Red / yellow / green LED | about 1600–2100, LED may glow faintly | 1 |
| Shorted (dead) diode | close to 0 | close to 0 |
| Open (dead) diode | 1 | 1 |
Blue and white LEDs need about 2.7–3.2 V, which is more than many cheap meters can supply, so they may show "1" both ways even when they are fine. Test those with a coin cell or a 5 V supply and a resistor instead. You can practise with a 5 mm LED kit.
6. How to measure DC current
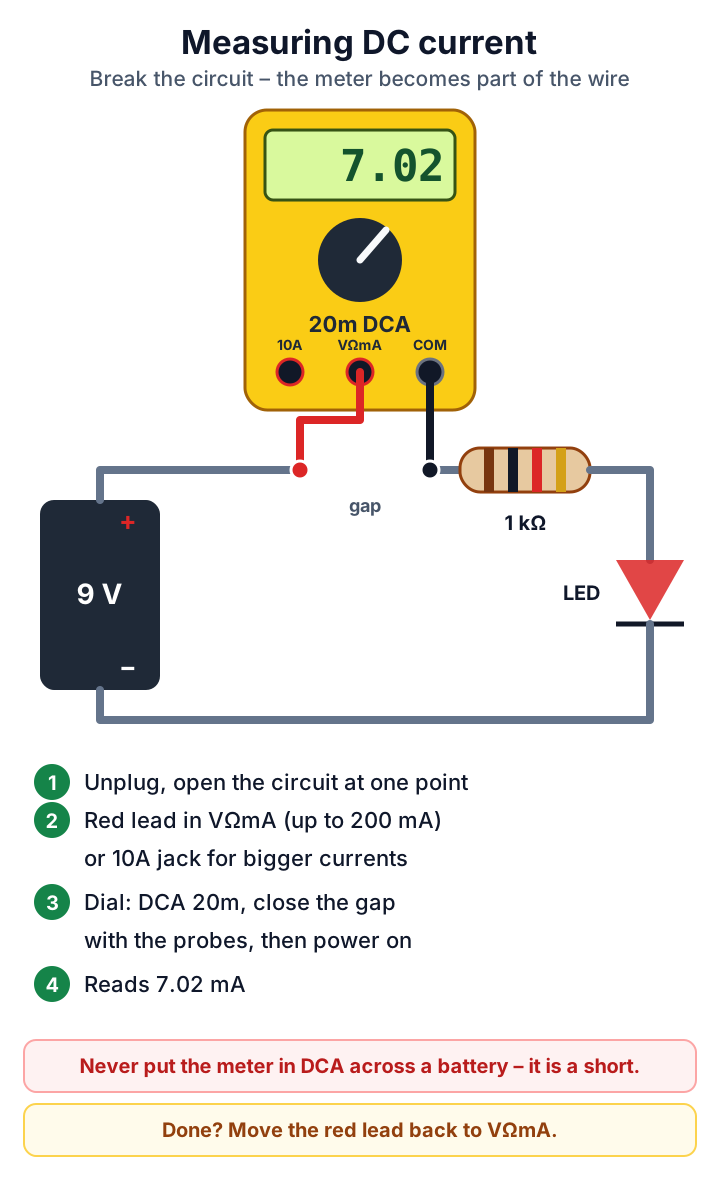
Current is the one measurement that is different: the current has to flow through the meter. You break the circuit at one point and let the meter close the gap – the meter is in series.
- Switch the circuit off and open it at one point (for example, lift one leg of a resistor on a breadboard).
- Red lead in VΩmA for currents up to 200 mA, or in 10A for larger currents. Black stays in COM.
- Dial to DCA, starting high (200m, or 10A if you're not sure).
- Touch the red probe to the side coming from the supply's + and the black probe to the side going to the load. Switch on and read: on the 20m range, 7.02 is 7.02 mA.
- Never put the meter in current mode across a battery or power supply. That's a short circuit: it blows the meter's fuse or damages the meter.
- The VΩmA jack is protected by a small fuse. If current readings suddenly show 0 while voltage still works, that fuse has blown.
- On many low-cost meters the 10A jack has no fuse at all – keep 10 A measurements to a few seconds.
- When you're done, move the red lead back to VΩmA and the dial back to DCV or OFF.
7. How to test a transistor (hFE)
The hFE socket measures a bipolar transistor's current gain. Turn the dial to hFE, plug the transistor into the NPN or PNP row with its E, B and C legs in the matching holes, and read the gain. A BC547 usually shows somewhere between 110 and 800 depending on its grade (BC547B: about 200–450). A reading of 0 or 1 usually means the legs are in the wrong holes – check the pinout – or the transistor is damaged.
Reading the display: what the symbols mean
| You see | It means | Do this |
|---|---|---|
| 1 on the far left | Over range (or an open circuit in Ω and ▶|) | Turn to the next higher range |
| − before the number | Probes reversed | Nothing – or swap the probes |
| Random digits with nothing connected | Normal on voltage ranges | Ignore; connect the probes |
| Battery symbol / "BAT" | The meter's 9 V battery is low | Replace it – readings may be wrong |
| 0 on DCA, voltage still works | Internal fuse blown | Replace the fuse with the same rating |
DT830D vs DT9205A: which multimeter should you buy?
| DT830D | DT9205A | |
|---|---|---|
| Best for | Students, first meter, Arduino projects | Hobbyists, repair work |
| Display | Small 3½-digit | Large 3½-digit |
| Current | DC up to 10 A | DC and AC up to 20 A |
| Resistance | up to 2 MΩ | up to 200 MΩ |
| Continuity buzzer | No (use Ω 200) | Yes |
| Capacitance | No | 2 nF – 200 µF |
| Auto power-off | No | Yes |
If you're learning electronics or building Arduino and ESP32 projects, the DT830D covers everything in this guide. If you repair devices, check lots of wiring or want to test capacitors, the DT9205A is worth the extra money. For mains distribution work, buy a branded CAT III meter instead.
Common beginner mistakes
- Measuring voltage with the red lead still in 10A – the most common way to blow a fuse or damage a meter.
- Measuring resistance in a powered circuit – the reading is wrong and the meter can be damaged.
- Using too high a range – a 5 V signal on the 1000 V range shows just "5", hiding the detail. Use 20 V.
- Forgetting the units – on 2000 mV, "1250" is 1.25 V; on 20k, "4.68" is 4.68 kΩ.
- Leaving the meter on – the DT830D has no auto power-off, so turn it to OFF to save the 9 V battery.
Frequently asked questions
How do I check if a wire is broken with a multimeter?
Disconnect the wire, set the DT830D to Ω 200 and touch both ends. Close to 0 means the wire is fine; "1" means it is broken somewhere. Bend the wire while measuring to find an intermittent break.
How do I check a fuse with a multimeter?
Take the fuse out and use the Ω 200 range (or the continuity buzzer). A good fuse reads close to 0; a blown fuse reads "1".
Why does my multimeter show 1?
"1" on the left of the display means over range: the value is bigger than the selected range can show, or (on Ω and ▶|) there's no connection. Turn the dial to a higher range.
Can I check mains voltage with a DT830D?
You can check a wall socket on the ACV 750 range with care, but the DT830D is a basic meter for low-voltage electronics. Don't use it on distribution boards, inverters or industrial equipment.
Why does my meter read 0 when I measure current?
Either the meter isn't in series with the circuit, the red lead is in the wrong jack for the dial setting, or the internal fuse has blown. Check the fuse with another meter's continuity mode.
What battery does the DT830D use?
A single 9 V battery (6F22). Replace it when the low-battery symbol appears – a weak battery gives wrong readings.
Start measuring
Learn three things and you'll use a multimeter confidently: the black lead stays in COM, voltage is measured across a part and current through it, and you pick the range just above what you expect. Grab a DT830D, a 9 V battery and a few parts from a resistor kit, and try every test in this guide in one evening.
Related products
Products linked to this article.
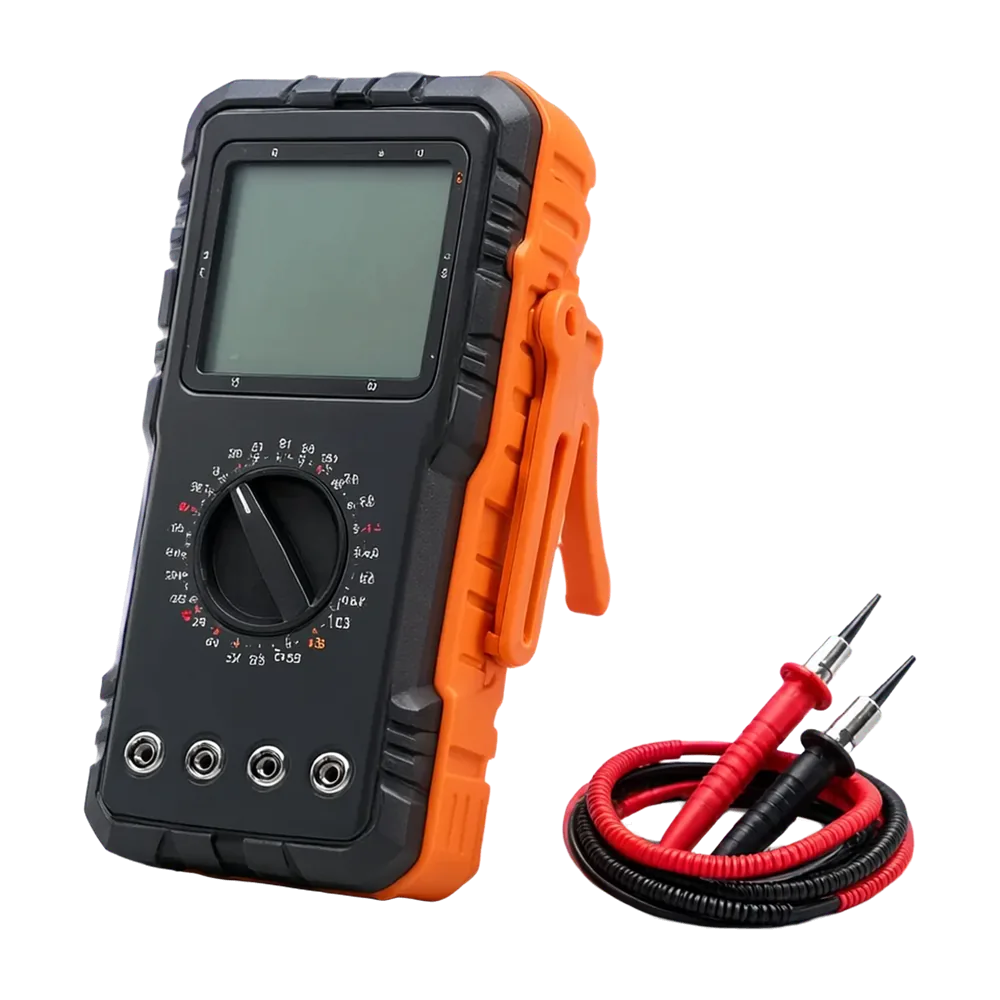 DT9205A Digital Multimeter₹419.00₹699.00Out of stockView product
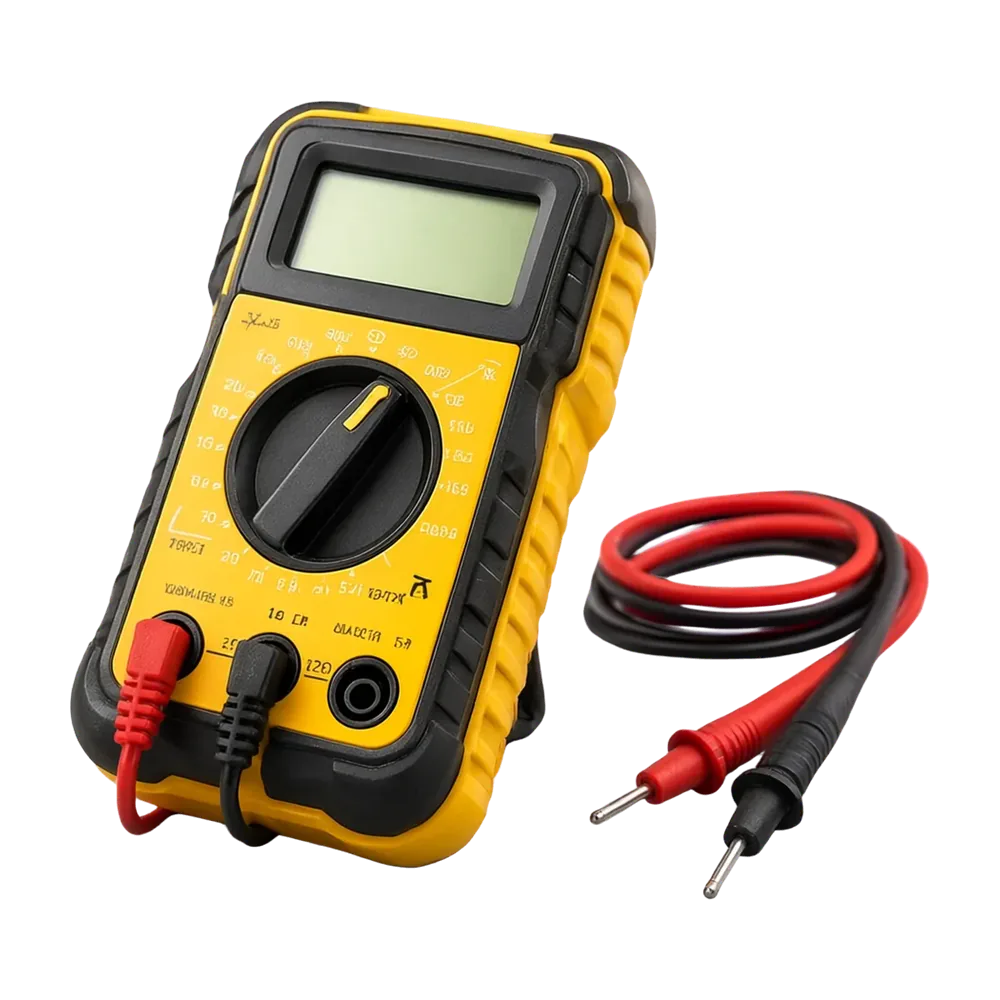 DT830D Digital Multimeter₹199.00₹349.00Out of stockView product
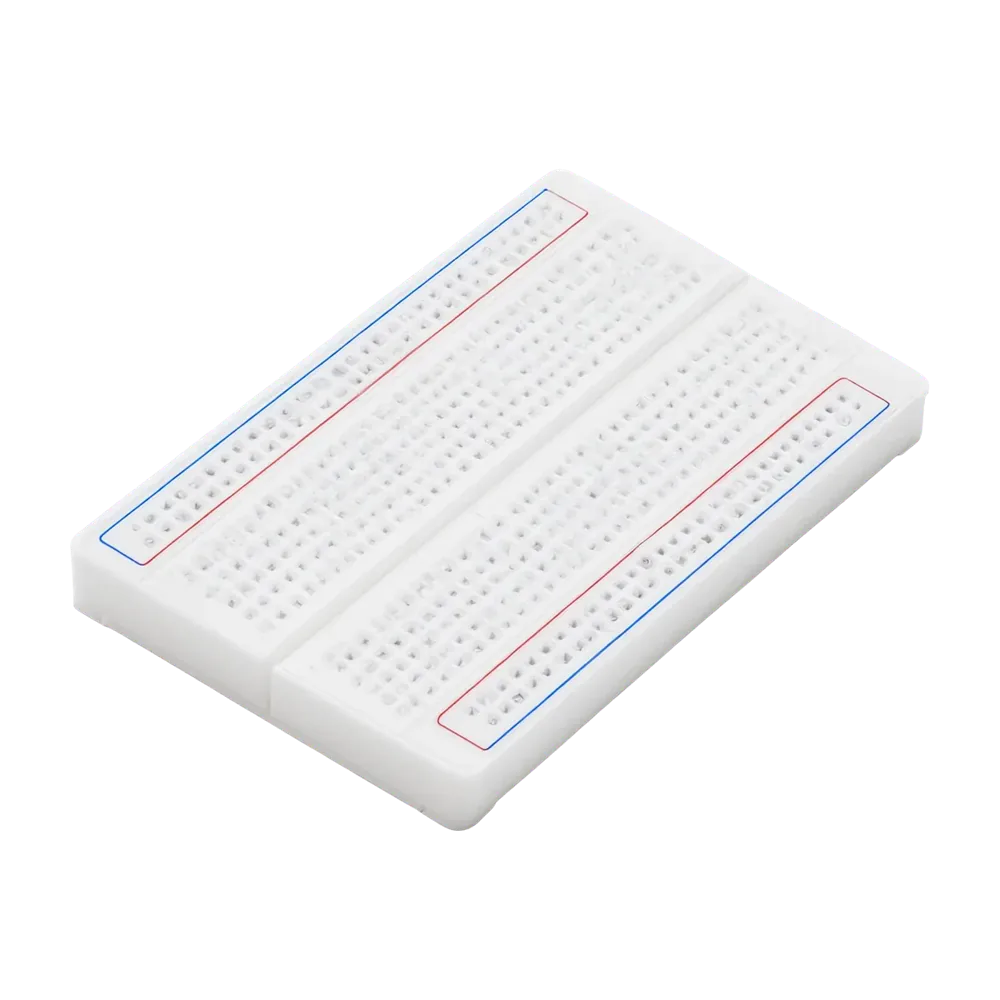 MB102 830-Point Breadboard₹69.00₹149.00Out of stockView product
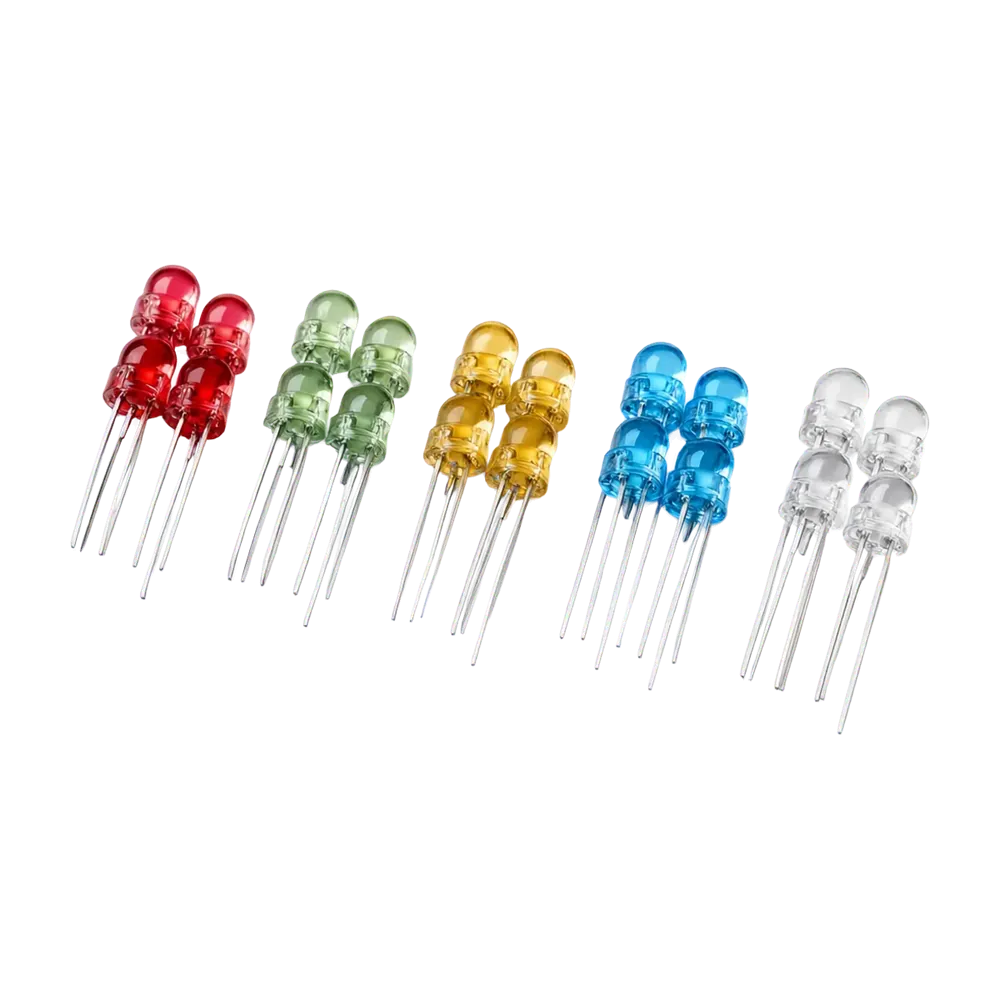 5 mm LED Kit 100 pcs – 5 Colours₹85.00₹149.00Out of stockView product
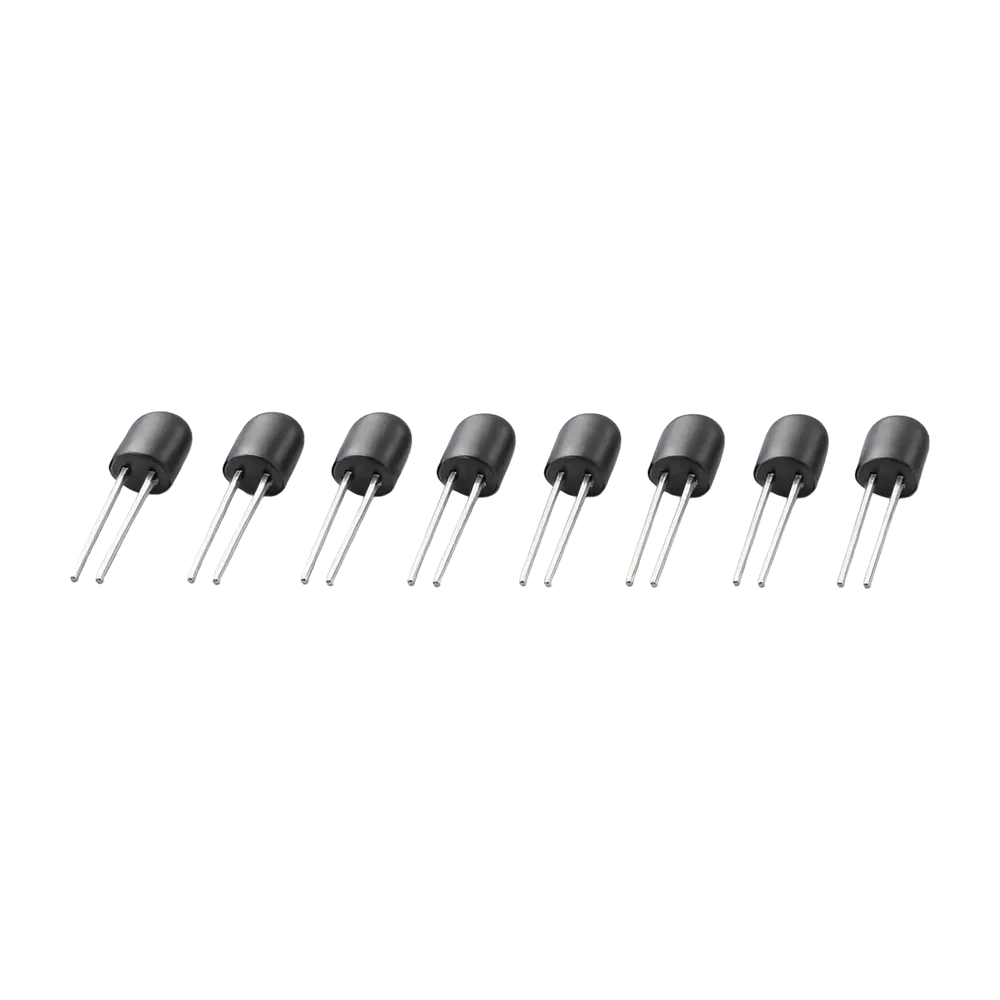 BC547 NPN Transistor – Pack of 10₹25.00₹49.00Out of stockView product
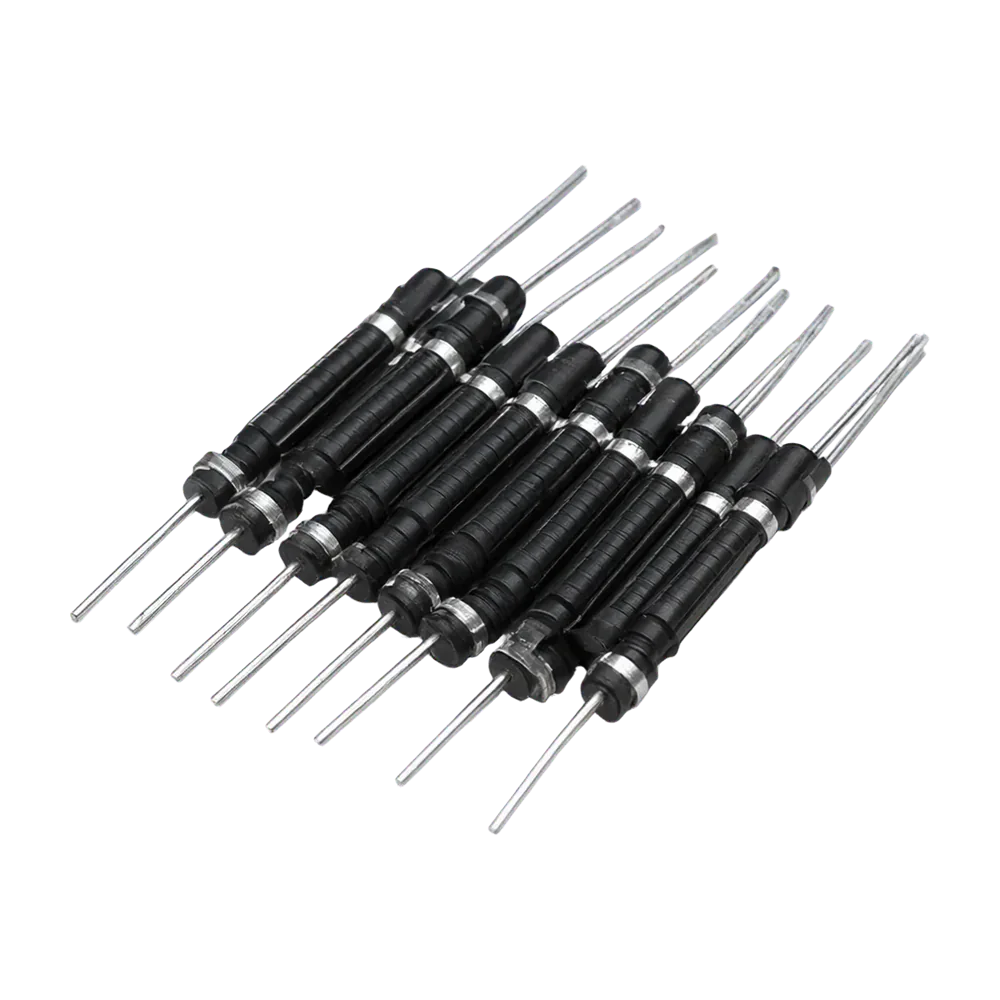 1N4007 Diode 1 A 1000 V – Pack of 20₹25.00₹49.00Out of stockView product
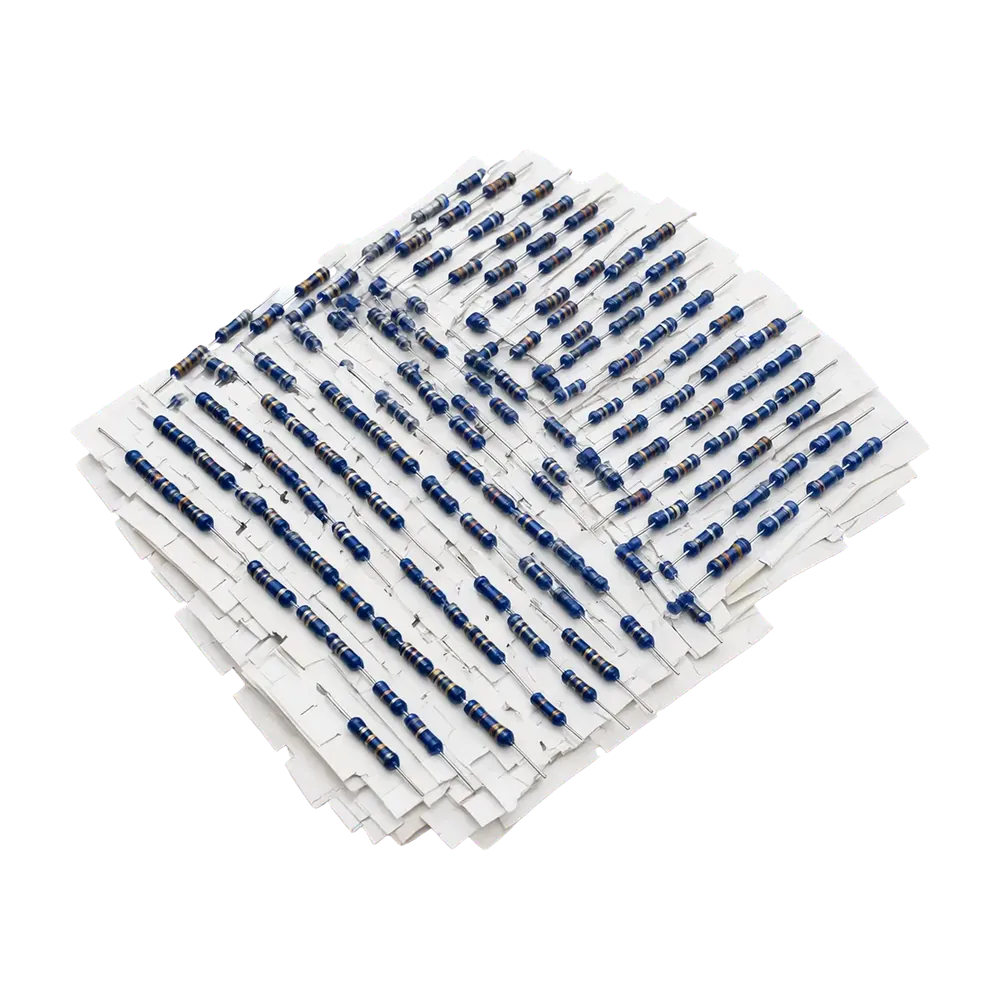 Resistor Kit 600 pcs, 30 Values₹199.00₹349.00Out of stockView product
 LM2596 Buck Converter (1.25–35 V, 3 A)₹79.00₹149.00Out of stockView product
- #Multimeter
- #DT830D
- #Beginner guide
- #Testing
- #Electronics basics
- #Tools